You can now create your own custom Palworld launchers with GLCV3 and the Palworld Plugin.
Note: You will need the Palworld Plugin in order to create Palworld launchers with GLCV3. You can purchase it separately from the Store using the link above.
Introduction
Palworld has hit the world by storm and GLCV3 is now compatible with creating Palworld launchers for your GLCV3 launchers so you can give to your friends, family and community. They can simply download your launcher, hit the connect button and connect to your server instantly.
Creating a Launcher
Open up GLCV3 and once inside, click File > New and create a new project (you can select a template or design your own by using the blank template).
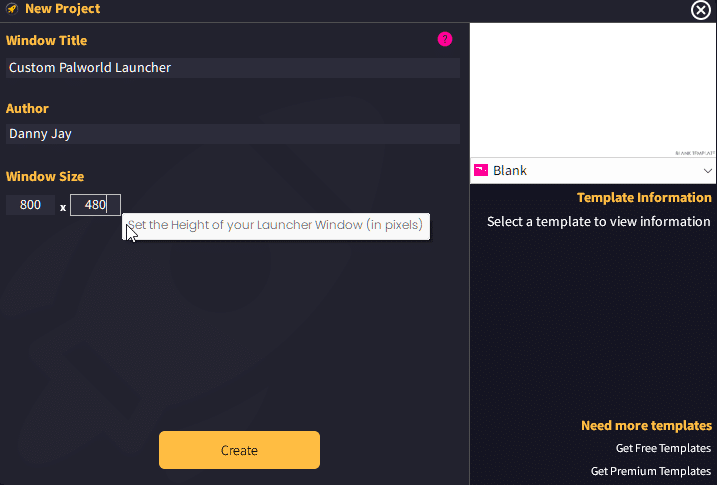
Once your new launcher has been created, you can begin designing it as you normally would. For the sake of this tutorial, we will skip over the design aspect and just show you how to connect your Palworld server to the launcher.
Insert the Palworld Object
If you have the Palworld plugin installed correctly, it should show up on the right hand window under ‘Insert New Object’ in the list of available objects, like so…

Double-click it to insert the object into your launcher…
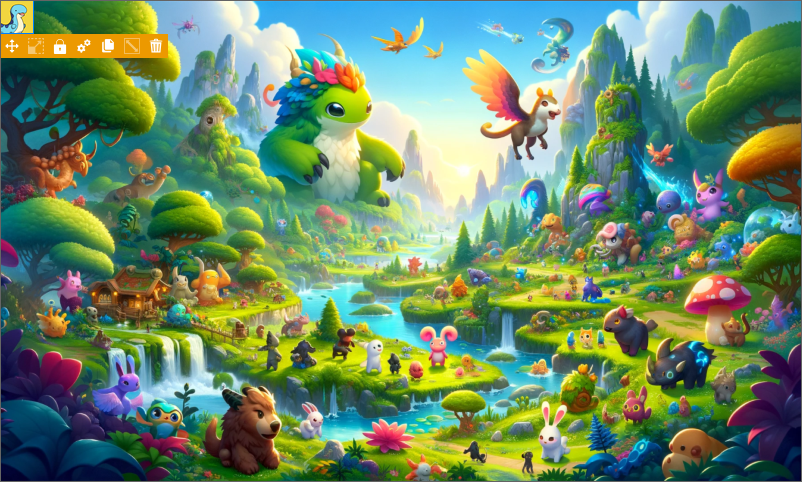
Once it’s in your launcher, you can move it anywhere. Note, your user won’t see this icon in the launcher, it will be hidden. You can see it in the editor so you can edit the settings.
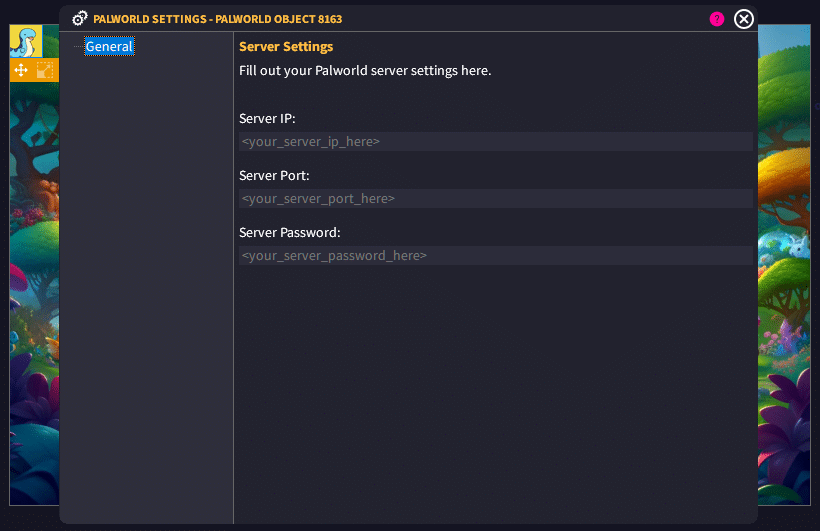
Insert your server IP (or DNS entry), your server Port and your server Password (if there is a password).
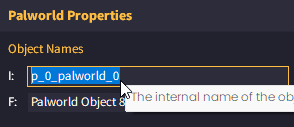
Close this dialog and select your Palworld object again and in the top right you will see it’s Internal Name, you need to select this and copy the name to your clipboard.
Insert a Connect Button
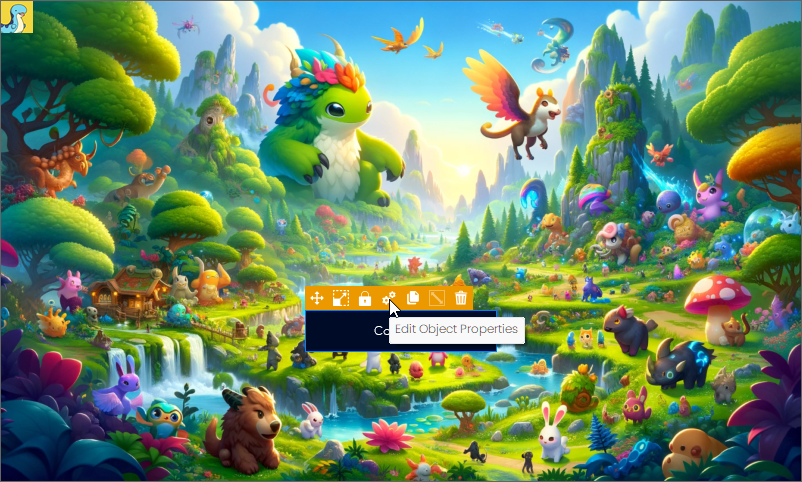
Now insert an image or text button, once inserted go to the button settings…
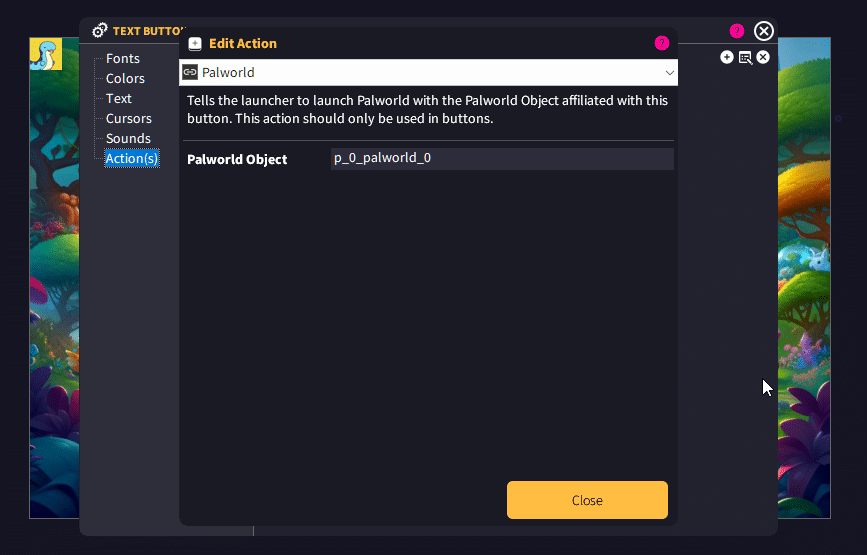
Once the settings are open, go to Actions, click the (+) symbol and on the action list, scroll down to Palworld then paste (or type) the internal name of your Palworld object.
Palworld Launcher Reset
The Palworld launcher is compatible with both Steam and Xbox Game Pass for PC. When your user first runs the launcher, a popup will ask them which version they want to play with (they must have this version installed). If they click Steam, it will launch the Steam version of the game. If they select Xbox, it will launch the Xbox PC version of the game.
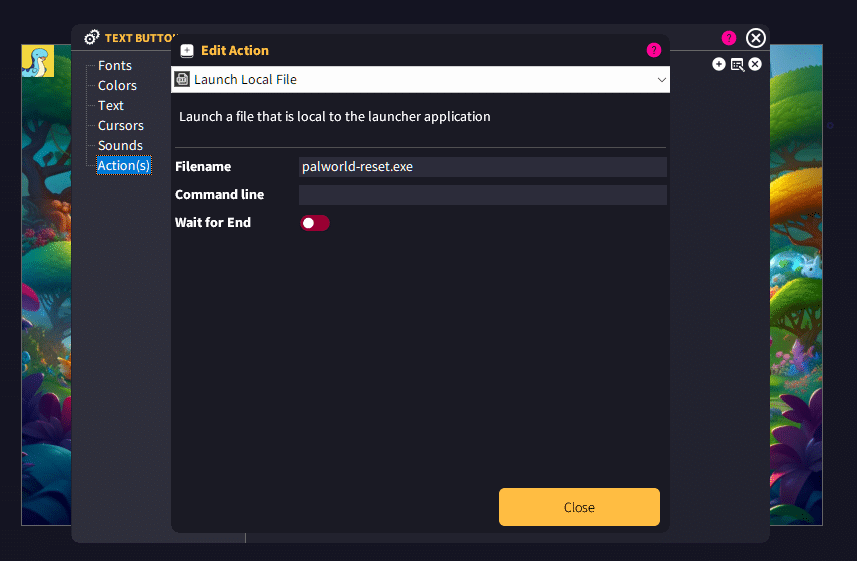
You will need to put a ‘Palworld Reset’ button in your launchers so your players can ‘disconnect’ the platform, just in case they want to switch. It’s also helpful for resetting if there’s any issues with connection. To do this, simply insert another button into your launcher and go to the button settings, then click on Action, select Local File Launch and type in palworld-reset.exe
These files are
Building your Launcher
When you come to build your launcher (File > Build Launcher), you will see the build launcher dialog appear. Before building you must ensure ‘Palworld Support’ button is checked (it will be green). If you don’t select this, your launcher will not contain the plugin required to connect to Palworld.
After Building
After building your launcher, you will see two files…
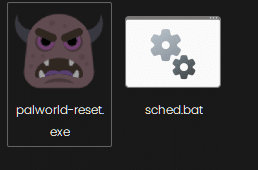
You must ensure these files are shipped with your launcher.
Creating an Installer for your Game Launcher
For Palworld, you will need to build an installer for your launcher. You can download Clickteam’s Free Install Creator software to do this.
Once you’re in Install Creator the wizard will guide you through setting up your installer. Follow the instructions carefully (it’s quite easy).
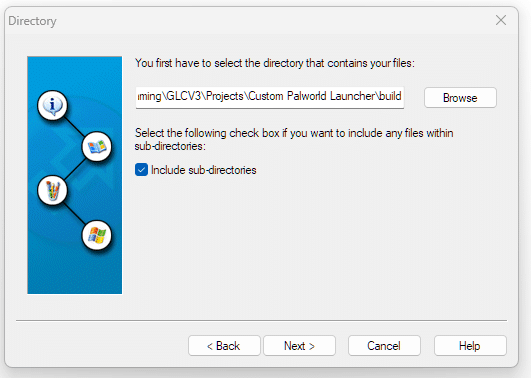
Select the folder which contains your launcher files, like so… (your files are usually under C:\Users\<username>\AppData\Roaming\GLCV3\Projects\<launcher project name>\build)
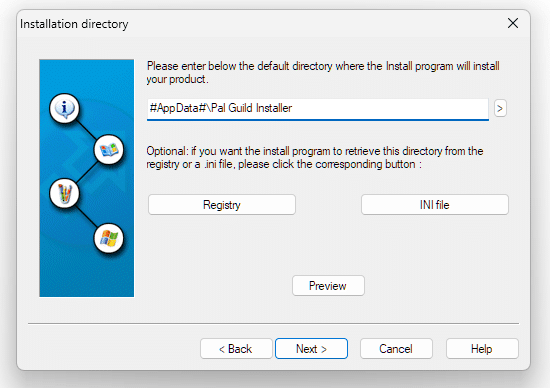
Now proceed to go through the other settings and customize your installer. However, for the installation directory, delete Program Files and use #AppData# instead, like so…
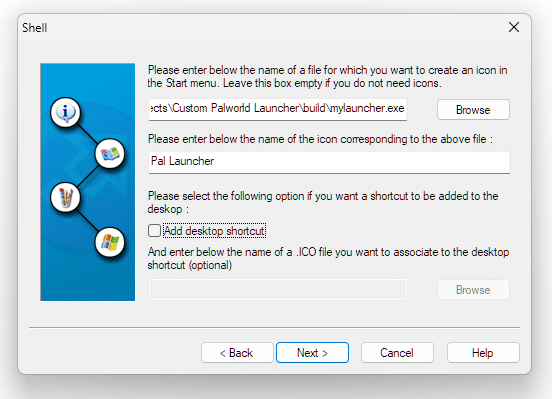
If you want to create a Start Menu / Desktop Icon for your launcher, you can click the Browse Button and locate your launcher executable (.exe) file…
Keep going through the wizard until you get to the last screen and check ‘Do not build Install Program’ like so…
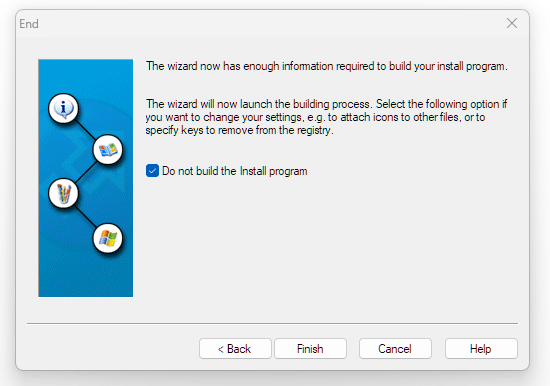
Then click Finish button.
Inside your file list, you will see the sched.bat file, select it with your mouse…
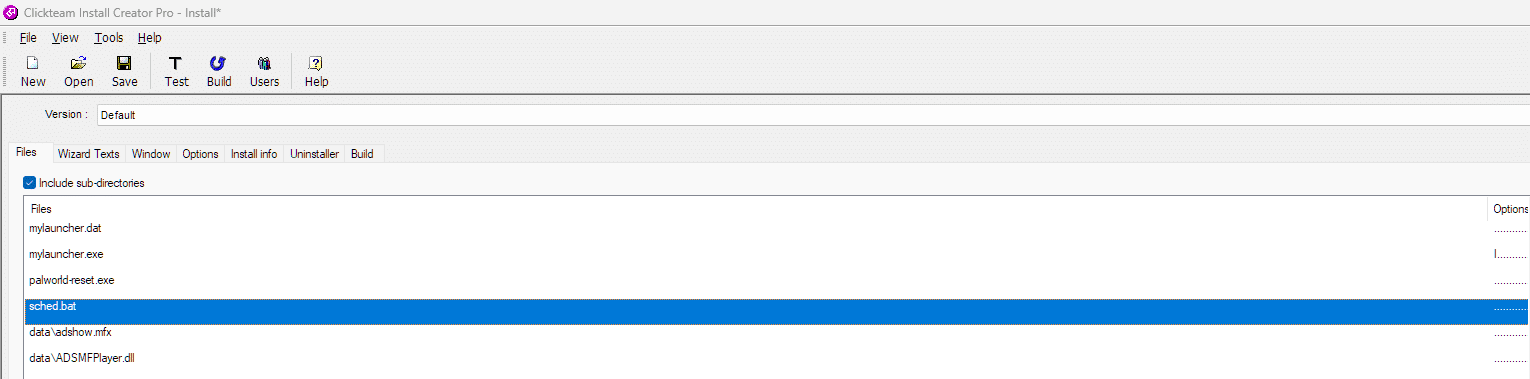
Then head over to the right where you will see File Options. Click on View/Run and then select ‘while end page is displayed’ or ‘before end page’.
That’s it. You should now be able to build your launcher. You can upload it to your website, DropBox etc and give this link to people for them to download and install your custom Palworld launcher on to their computer and be able to insta-connect to your launcher.
Please note: Once Palworld launches, they will need to click the ‘Multiplayer’ button which will connect them directly to your server.
Wrapping Up
That’s it. It really is as easy as that. Obviously you can design a super-cool launcher with a background image, some cool buttons to link to your Discord server, your website etc. But this is just how easy it is to connect it up to your Palworld Dedicated server.
If you experience any issues with this plugin, please report them in our Discord server (link in this website menu).
You can also report any issues to support@bytebox.media
Enjoy!