Now that you have a Minecraft launcher, you want to distribute your custom Minecraft to end users.
The Gamer edition features the Built In Updater, which allows you to automatically update your Minecraft install using an installation executable. There are many programs which can create an installer for you. In this tutorial we will be using ClickTeam’s Install Creator 2.
Note: ByteBoxMedia is not affiliated with ClickTeam. The install creator software used in this tutorial is NOT our product, and therefore we can only provide minimal support. This tutorial is meant to be used as an example of where to start with your own launcher. Please consult your search engine of choice and Clickteam’s support for how to create an installer.
Preparing The .Minecraft Directory
First you need to have your profile prepared in a .minecraft folder. We only want to distribute our minecraft/modpack, not the full Microsoft launcher, so most of the folders and files here will not be included.
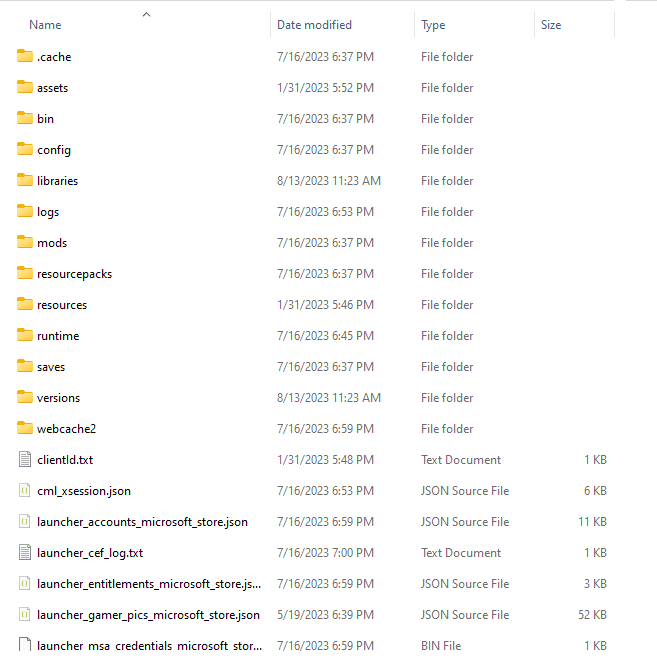
This folder contains more files and folders than your end user will need, so we will remove everything except for a few.
.cache – Launcher cache directory
bin – Microsoft launcher assets
logs – This is a directory of log files generated by Minecraft, we do not want to send our logs to the user
saves – This is where all of the users save files are located. You don’t want to delete or modify their saves unintentionally
screenshots – This is where user screenshots are stored. We don’t want to delete their screenshots or accidentally share our own
Resources & runtime – More Microsoft directories
webcache2 – Another cache
options & optionsof.txt – These are their in game settings. You should only send these if you know your modpack has specific required settings that are NOT part of a mods config (such as required render distance)
servers.dat & usercache.json – server/user information. Don’t overwrite their server options.
any .json files – All temp files that are needed my Microsofts launcher but not our own
Now that we are done this is what’s left in the folder
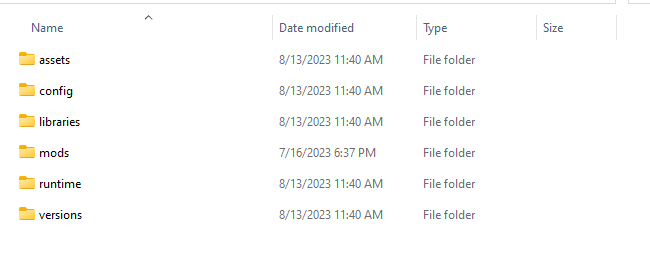
If you want you can include the following folders, but be sure not to delete the ones on the users computer.
resource, shader, & texture packs – If your mod pack requires custom shaders or textures you can install them here, but you don’t want to overwrite the users.
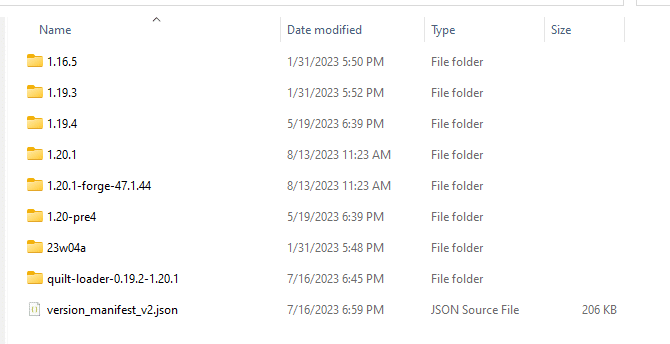
Inside of versions, you want to keep only the version you intend to install. Here we see an example with several existing profiles, we will remove all but our newly installed forge
One we have done that our Version folder will look like this
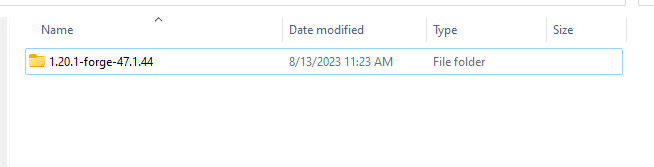
Pay attention to the name of the folder, as this is the version string we will use in the Minecraft object inside your GLC launcher
Creating the Installer
Now that our folder is prepared, lets create the installer.
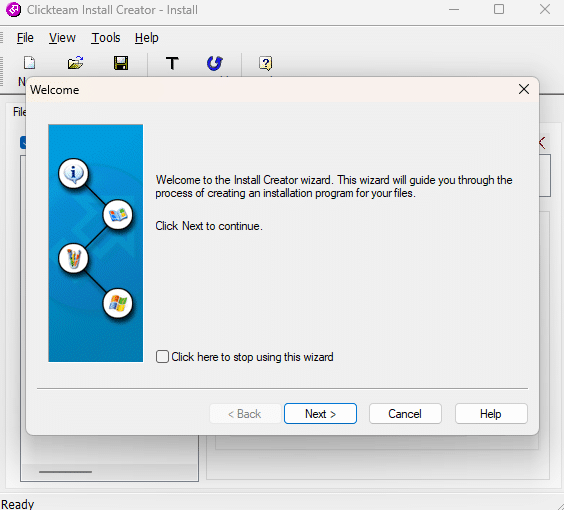
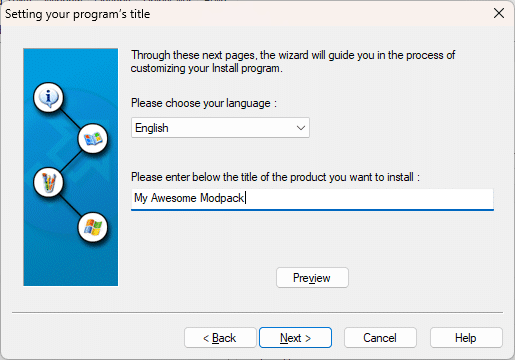
First open up Install Creator. Let’s use the Wizard to set up our installer. Click Next.
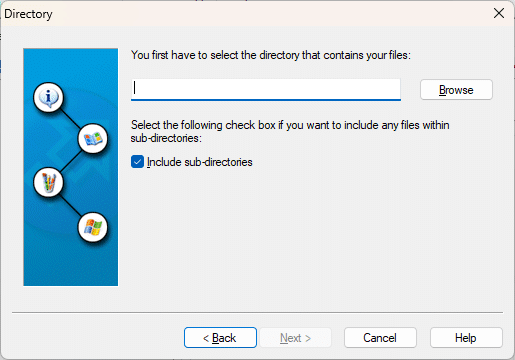
Select the .minecraft directory we cleaned up in the previous step.
Enter the name you want to appear on your installer.
The next few pages about images, licensing, etc. are optional. You can fill those out if you wish.
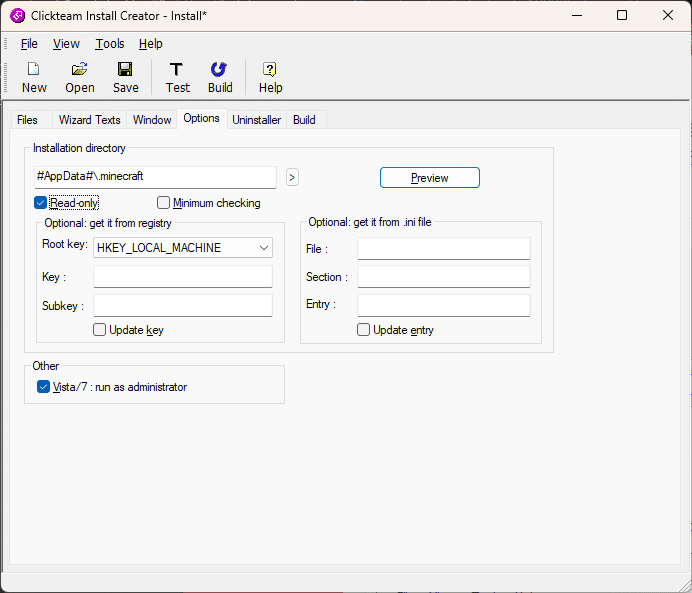
The Installation directory is the most important step. By default the installer will install to Program Files. This will not work.

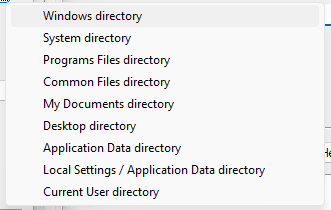
Delete what is in the entry box, then hit the arrow to the right and select Application Data Directory.
Then fill in the remainder of the install location so it looks like this.
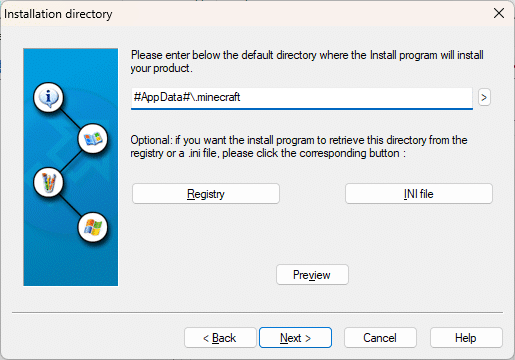
Again. The standard Minecraft plugin ONLY supports launching from the default .minecraft folder located in %appdata%
Continue through the rest of the Wizard, adding any information you like.
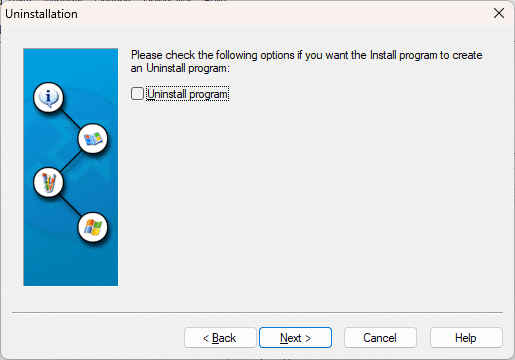
Unselect “Uninstall Program.” We don’t need an uninstaller
At the last step, check the “do not build the install program” as we want to make changes before it’s created.

Final Modifications to Installer
Go to Options and enable Read-Only. This prevents the install directory from being changed.
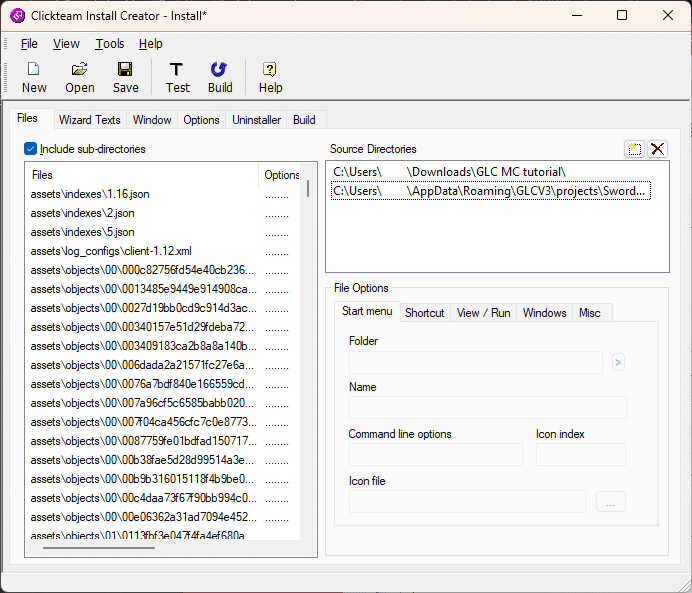
Including Launcher Updates
If you want to update your launcher along with the installer, the easiest way is to add the launcher files as a source directory. This will include them in your installer.
Now that your installer is ready hit Build, then test to make sure the files are installed to %appdata%/.minecraft. If so you are ready to use the Build In Updater.
You can now distribute your installer any way you see fit. You can have it as a download on your website.
Future Minecraft Mod Updates
If there are any future updates to your mod files, simply repeat this process to build a new installer and use the built-in versioning inside GLCV3 to trigger a download of the new installer.