Importing your own design from any design application is very easy with GLCV3. All the top dogs are supported like Photoshop, GIMP, Illustrator and Fireworks but so is any other design software.
It’s not about the software you use, it is about how you export it. For simplicities sake, we will guide you through here, how we created a template using Fireworks and exported each component ready for use in GLCV3 for a custom game launcher design.
Note: You can click on the images below for a larger version.
Preperation
First prepare your launcher design in your favourite editing application. We have chosen Fireworks for our example, but the same principle will apply to any other graphic design application.
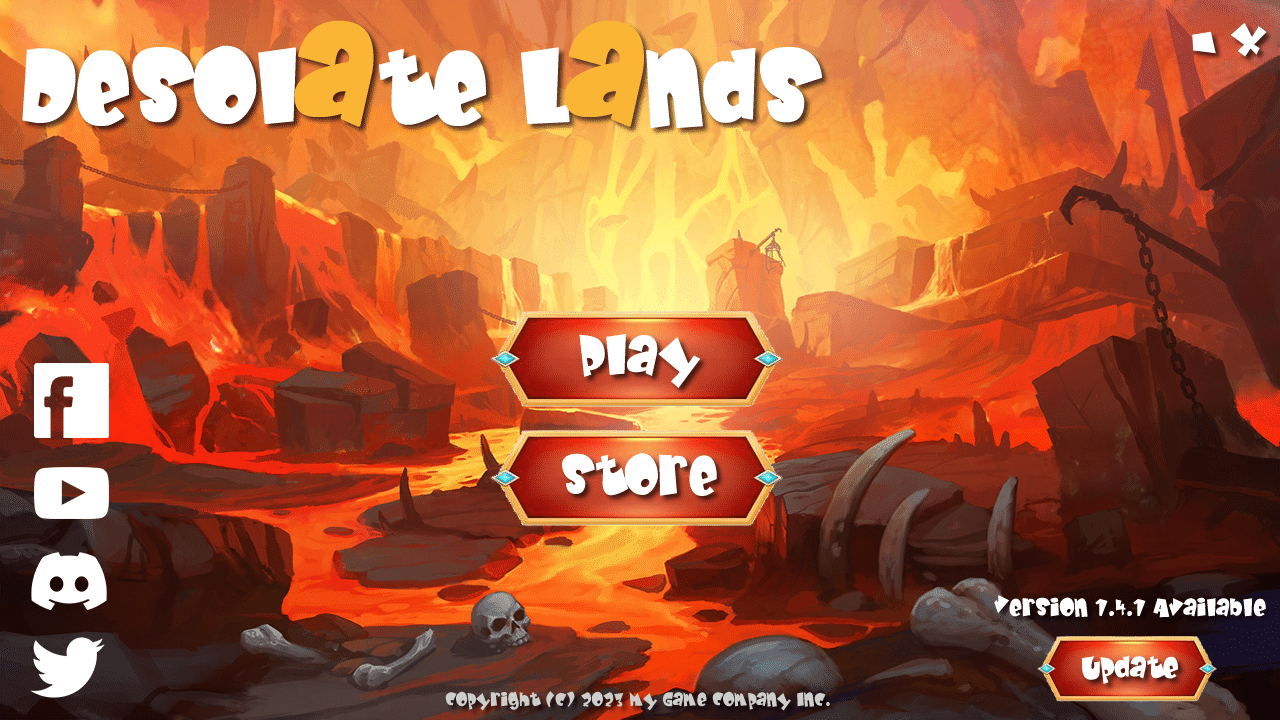
First design your launcher to look exactly how you want it to look. This is how ours looks…
You now need to ‘visualize’ your launcher as separate components instead of just a ‘flat image’. Look at it in the third dimension. For example, the background is a plain entity, so we will first export that. So we take our background and copy it into a new image and export it, just like this…
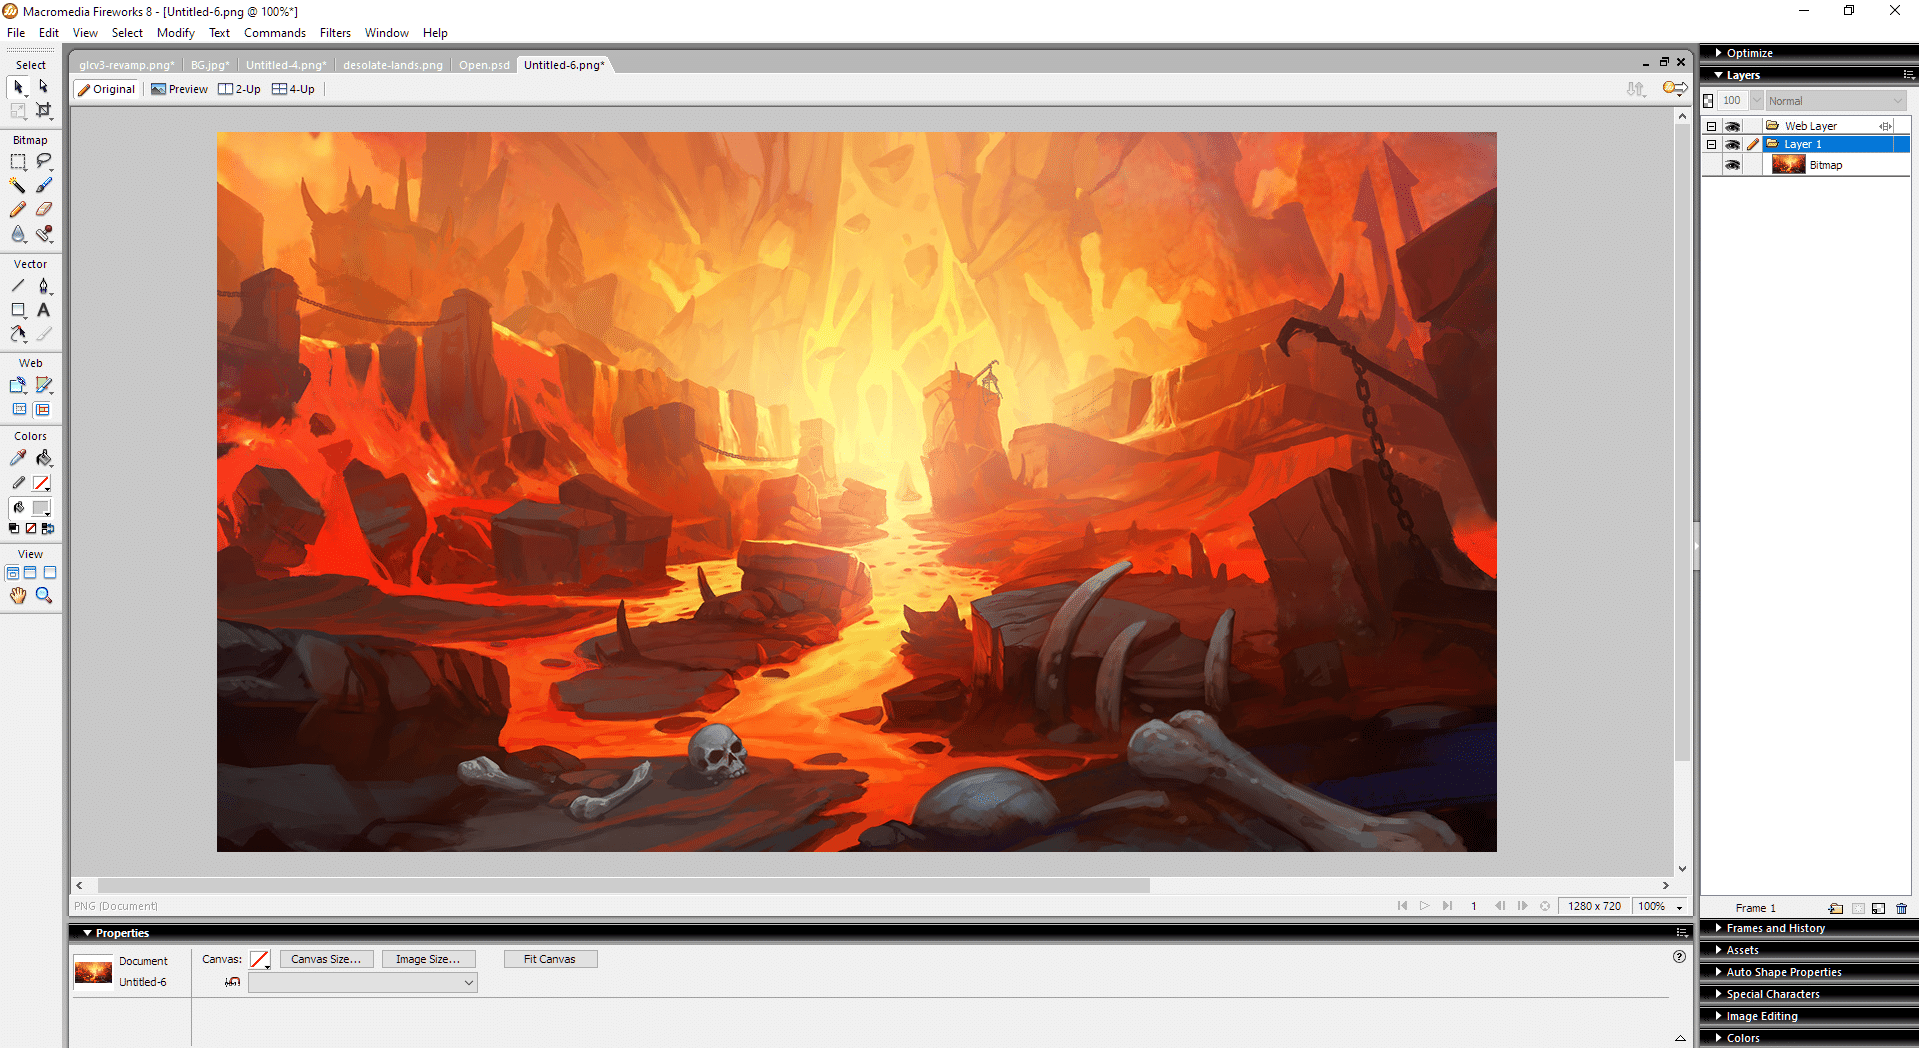 We are going to export the background on its own, so we are going to create a folder named after our game, which is Desolate Lands. We then export the background as a JPG, applying some compression (not not too much), to keep the size of our launcher down as much as possible, without breaking quality.
We simply export it as background.jpg

Now we close this image and return to our launcher design.
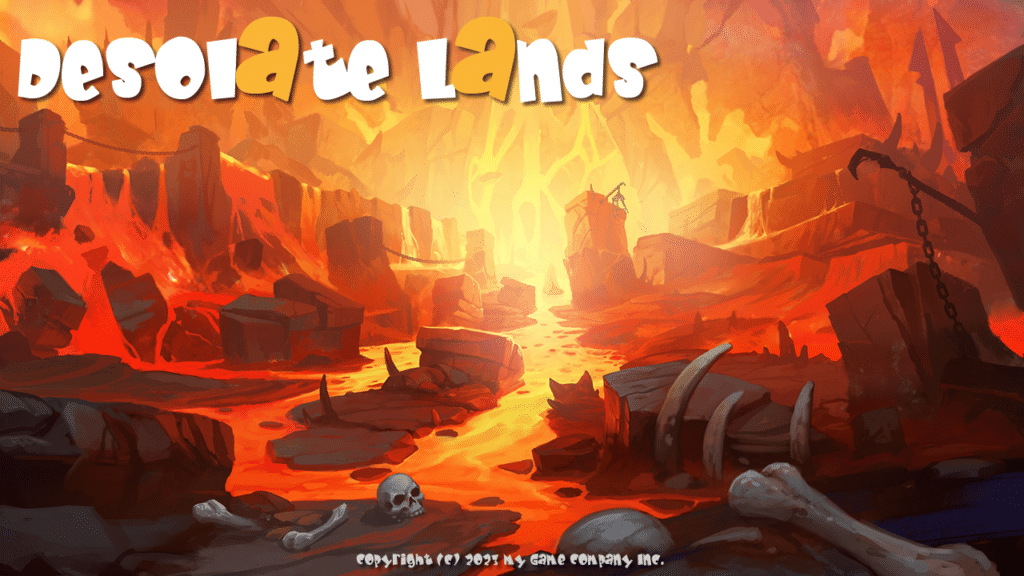
Now we need to view and export each ‘item’ individually, unless it will change. You see, our game title and our copyright notice are not interactive and won’t change. So we are going to go back and export those along with the background, to save time.
So we do the same as above, except this time we’ve included the Game Title and Copyright Notice because the user cannot interact with these, they are static and will not change.
So now, our new background image looks like this…
We now export it again overwriting background.jpg.
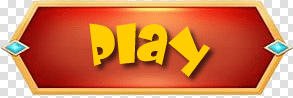
Now back to our original launcher design. Now we need to export out each individual image and button that can be interactive. Let’s take our PLAY button as an example.
We simply select it and create a new image, we should be left with this:

Now, we need two states to our button, a normal state and a hover state (we will use the hover for click also).
So let’s export this as the ‘normal’ state, we will name it play_a.png
Now, to create the effect of a hover, we can simply change the color of our text here and export it as play_b.png
Repeat the Process
Now you simply repeat the process for all your buttons (and anything interactive), exporting each one until you are complete.
Eventually, you should end up with a folder with all of your components exported individually, like this…

Import into GLCV3
Now, head over to the Game Launcher Creator V3 editor.
Create a New Project and enter your launcher title and author name.
For the size, we know the size of our background is 1280×720 so we will use this size for our launcher. Select the Blank Template and when you are done, click Create. GLCV3 will now create you a new blank project.
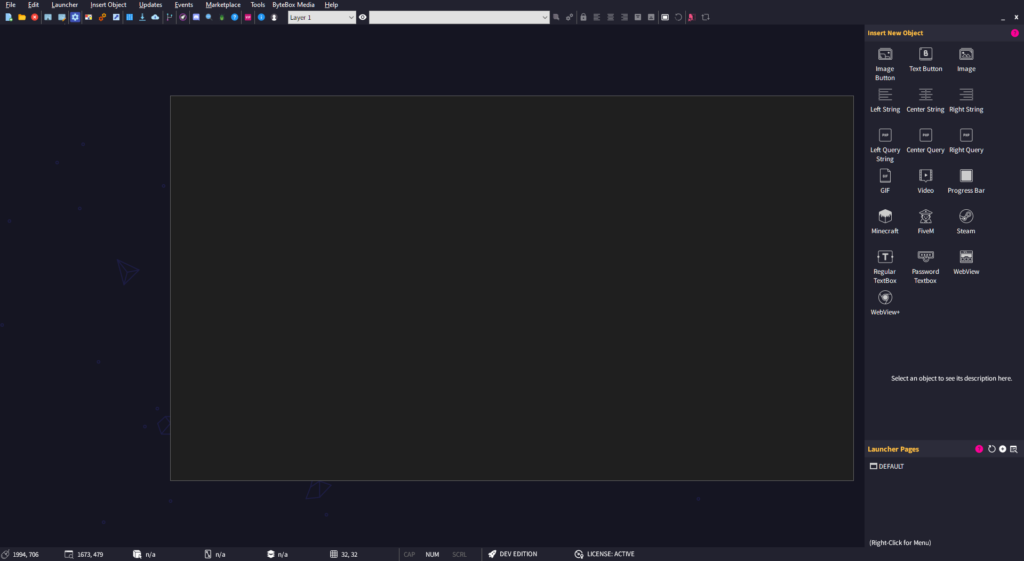
It contains nothing, completely blank.
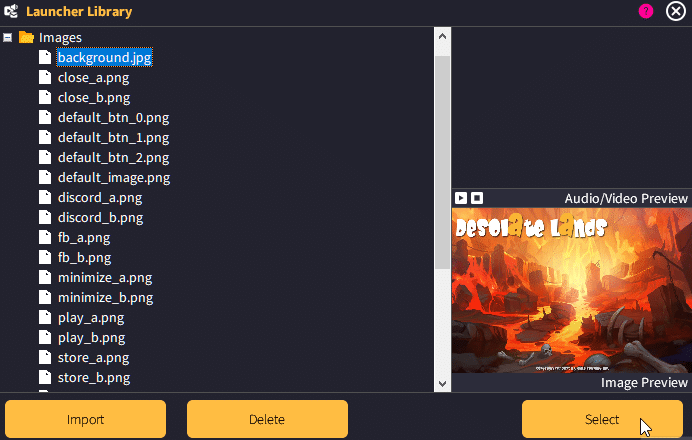
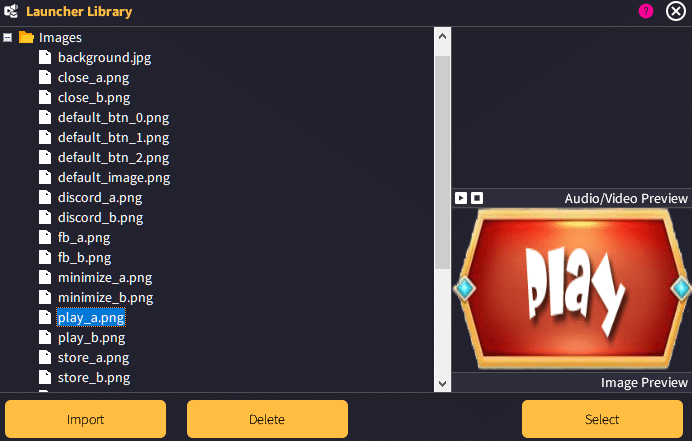
So the first thing we need to do is import ALL of our newly exported launcher assets. Click on the Launcher Library button in the toolbar (or click Launcher > Launcher Library in the menu). This will open up your launcher library.
Now click on the ‘Import’ button and go to the folder containing your launcher assets. Select ALL the assets and click ‘Open’. Now wait a minute until the Launcher Library imports all the assets. You will see the launcher library ‘flash’ when it is complete and a message will appear. Do not click anything until this popup appears…
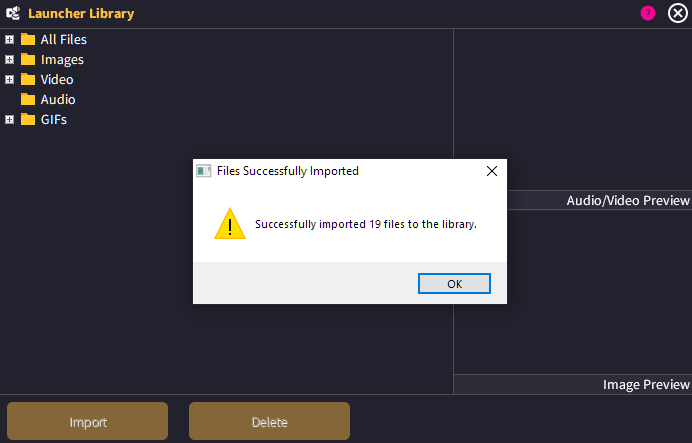
Once this has finished, we now have the assets imported into our launcher library, so we can access these quickly at any time now.
The first thing we need to import is the background.
Now, an important word on background images. Do NOT use the image object in your launcher for background images. It will cause you a design headache along the way.
This is the correct procedure to importing a background image for your launcher.
Go to the Page Settings (right-click on the page and ‘Edit Page‘).
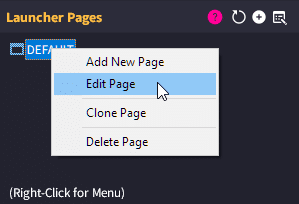
When the settings dialog for the page comes up, select IMAGE from the dropdown…

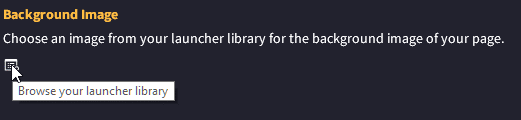
Now go to the Background Image section and click on the Browse Library button, then select your background image.
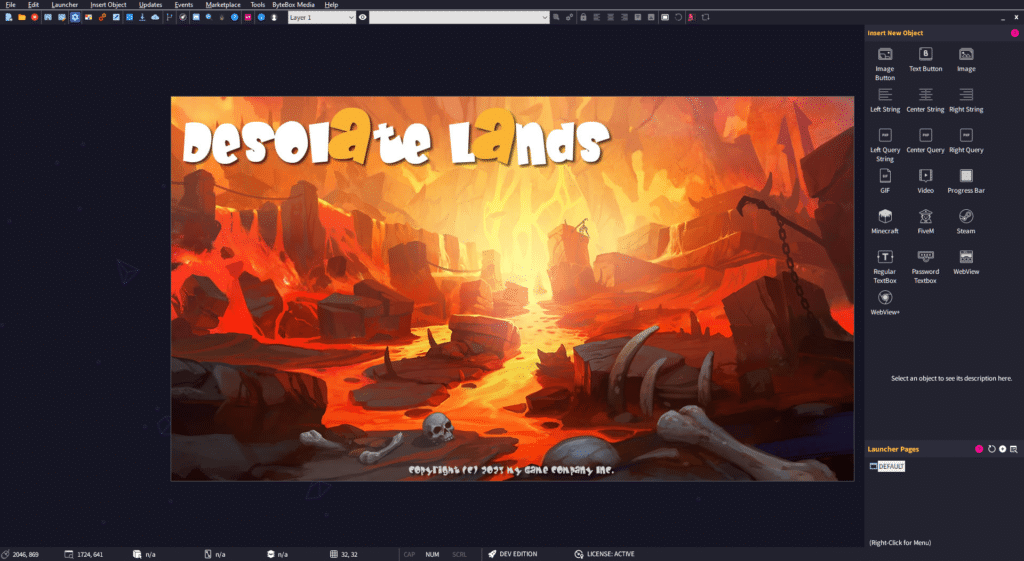
After you have clicked ‘Select’ you can close the page settings and you will instantly see your background now loaded onto the page.
Because we have used the proper background setting through the page settings, you can’t “select” or “click” on the background accidentally now. It is stuck there, until you change it via Page Settings > Background.
Importing the Buttons
Now, we will demonstrate how you can import a button, you can repeat this procedure for the rest of your buttons.
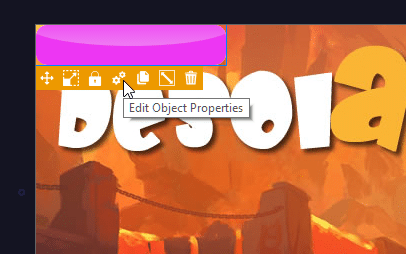
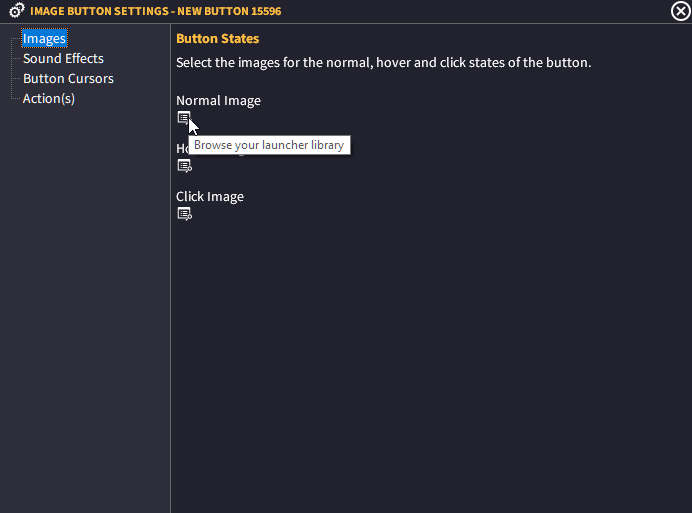
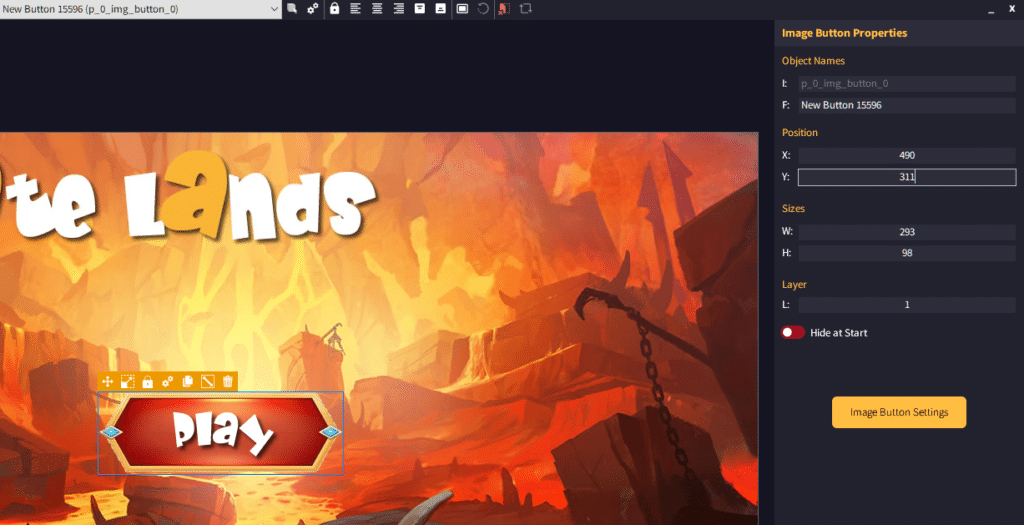
Double-Click on ‘Image Button’ in the object panel. This will insert a new image button. Select this image button and select the ‘cog’ from the object toolbar.
This will bring up the settings for this image button. Once in there, select the Normal, Hover and Click images for the button which we imported. For our Click state, we will use the Hover image.
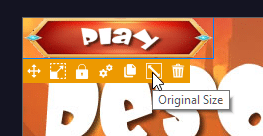
Now, when you close the settings dialog, you may notice your button looks a bit skewed, like it’s not the right size or something. Quick and easy to fix this, just select the object and click on the ‘Original Size’ button and GLC will automatically resize it based on the first image size.
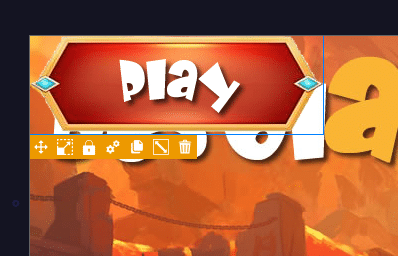
Much better. Now let’s talk about positioning. You can freely move and position this button however you please by clicking on the arrows ‘move’ button in the object toolbar ![]() but we can do one better than that.
but we can do one better than that.
We can go back to our original launcher design and look at the exact X and Y co-ordinates and match them up.
Note: Inside GLCV3 all objects anchor points are 0,0 (top-left).
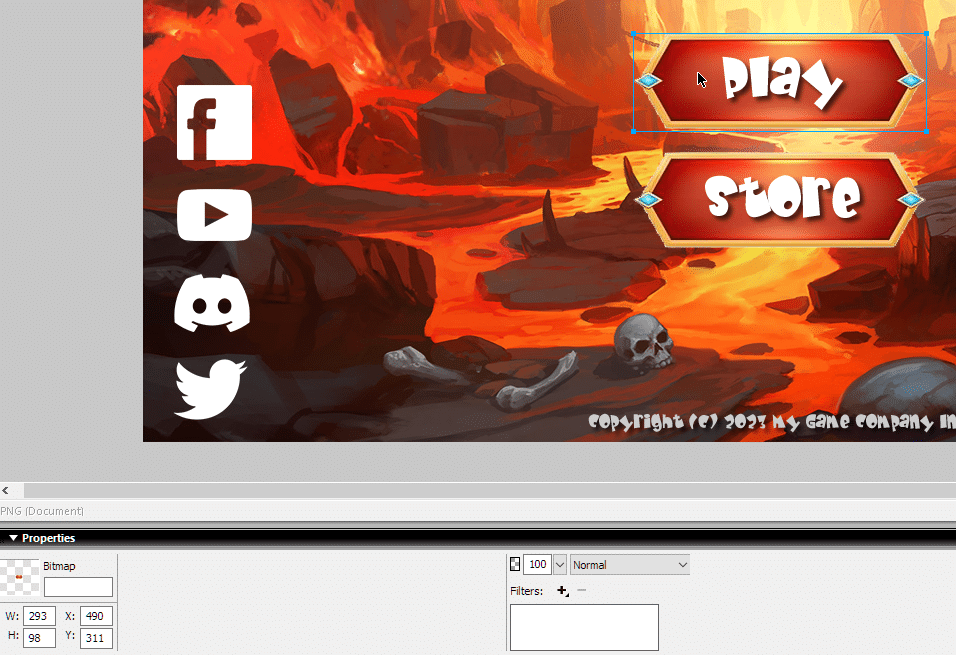
So as you can see here back in Fireworks, I select the Play button and in the bottom left corner you can see the exact X and Y position it is supposed to be.
So to match this up in GLCV3, simply select the Play button and on the right hand side of the GLCV3 editor, you will see the properties for the button load up, like the X/Y position. Simply enter the same co-ordinates you see from Fireworks into here and it will place it exactly there. So our co-ordinates in Fireworks are X: 490 and Y: 311 so we do this in GLCV3 for this button…
That is pretty much how you import your custom launcher design into GLCV3.
Just repeat this process for your buttons and then you can begin assigning actions and making your launcher interactive.
Friendly Names
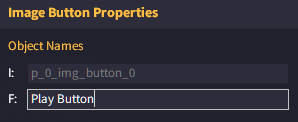
One last titbit for this tutorial. When you have an object selected (as above), you will see some other boxes like size, layer etc. but notice one at the top is called ‘F:’. This stands for ‘friendly name’. It is recommended you give all your objects a ‘Friendly Name’ so it’s easier to distinguish them when referencing the object from other parts of the editor.
For this example above, we can call this object ‘Play Button’ like so…
Conclusion
There are many different ways and techniques you can achieve things with GLCV3. We highly recommend you scour through this documentation section and the tutorials. If you are looking for something specific, use the Search Bar at the top of this page.
Now, go have fun with Game Launcher Creator V3!