If you use the WebKit+ object inside your game launchers, when you distribute your game launcher, you need the ability to register the WebKit control on the user’s computer.
If you do not do this, you will more than likely see this error:

Which states
Cannot Use Control
and /or
Unable to find any programming interface.
This is because the WebKit+ control is not installed on their machine.
This tutorial will guide you through installing this for them.
Creating an Installer
The best method to distributing your game launcher with the WebKit+ is through an installer. You pack your launcher executable and all your launcher files (including the data folder) into an install software and build an installer.
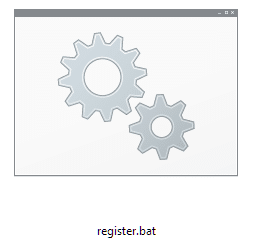
When you export your launcher from Game Launcher Creator V3, click on the ‘View Launcher Files’ button. Inside the same folder as your launcher you will notice a file called ‘Register.bat’
This Register.bat file is a batch file which we have created for you. It will automatically install and register the control on the user’s computer for you.
Whichever software you use, you must ensure this batch file runs before the installer has finished installing your launcher. There are too many different installer softwares out there for us to cover in this tutorial but for the sake of simplicity, we will show you how to accomplish this with Clickteam’s Install Creator.
Load the files into the installer software and select register.bat in the list. Now go to the File Options tab on the right and select View / Run.
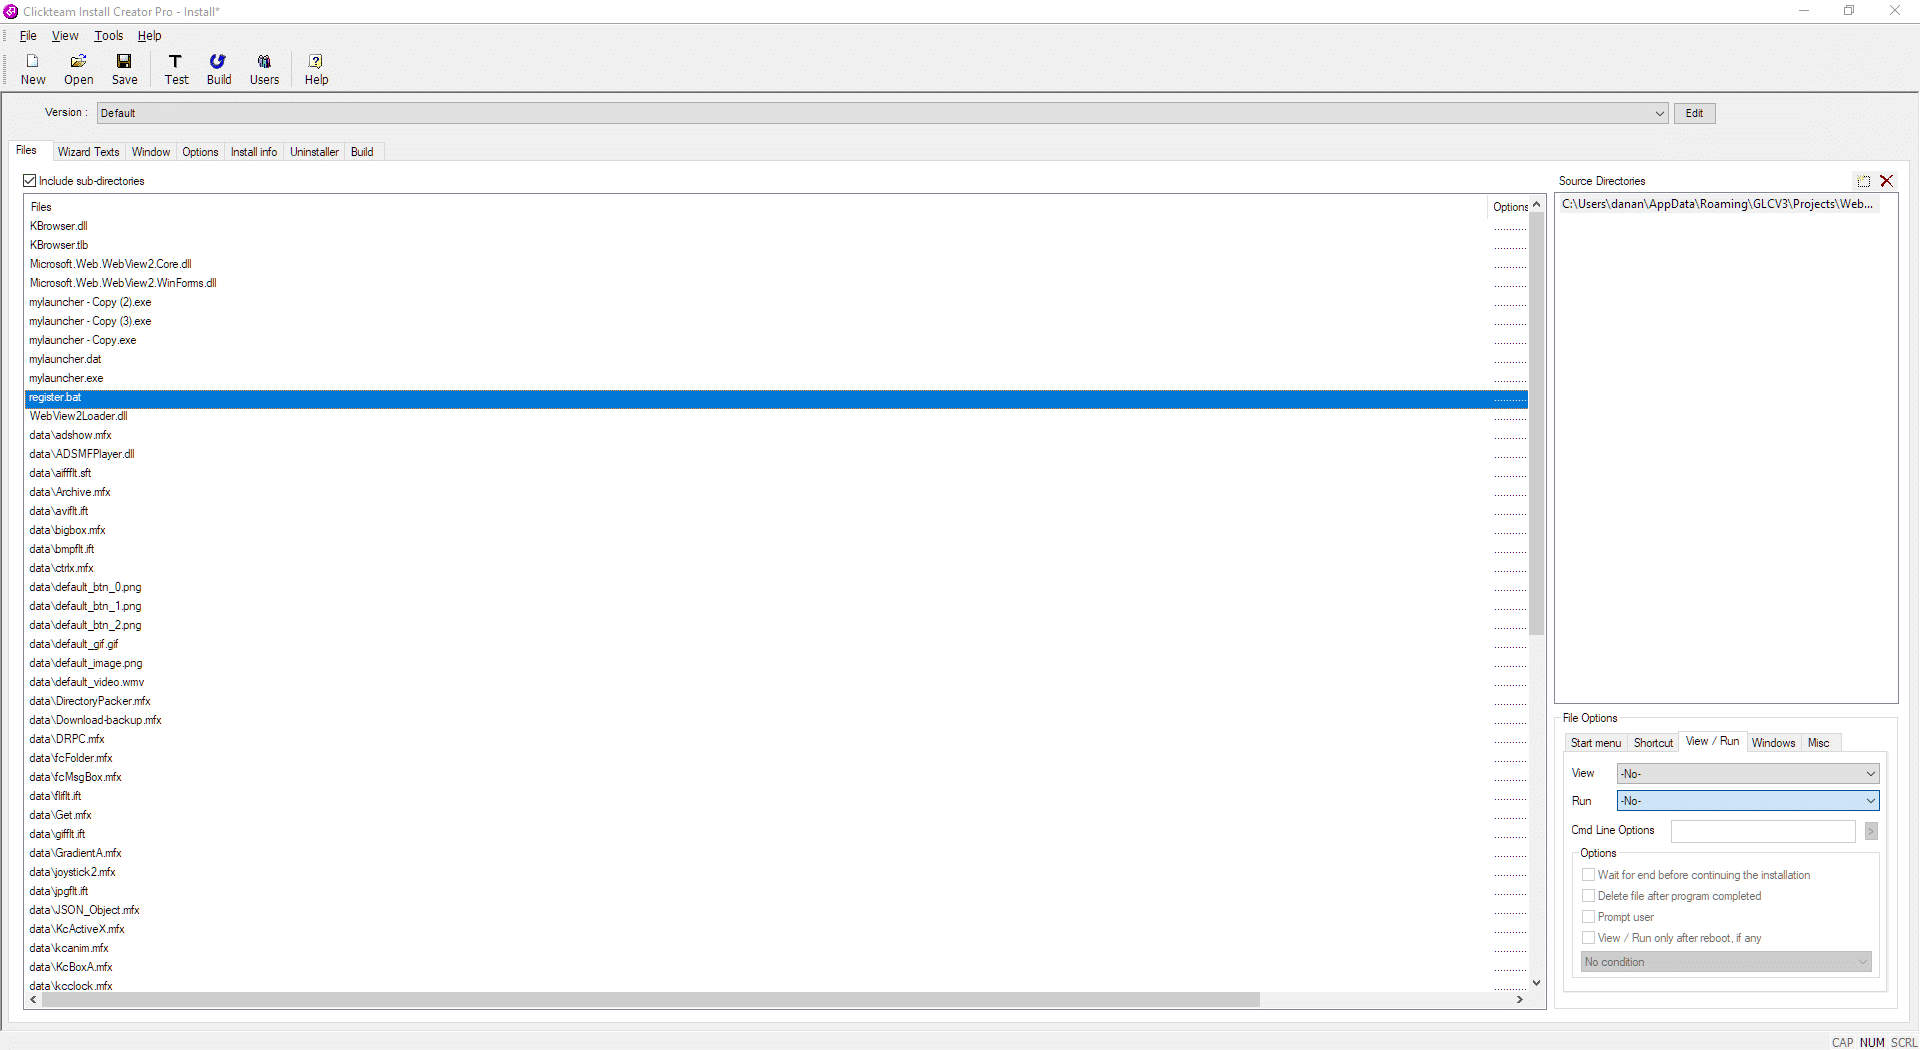
Now select the RUN dropdown list and you can either choose ‘Before End Page‘ or ‘While End Page is Displayed‘.
This batch file requires .NET 4 framework to be installed. Most Windows 10 users will automatically have this installed and shouldn’t have any issues.
However, with Windows 11 users, .NET 4 framework is sometimes not automatically installed. This may cause a problem with Windows 11 users.
Windows 11
If some of your users are experiencing issues, then you will need to download the .NET 4 Framework redistributable from here.
Once you have downloaded this file, put it in the same folder as your launcher files and re-scan the folder in your installation software.
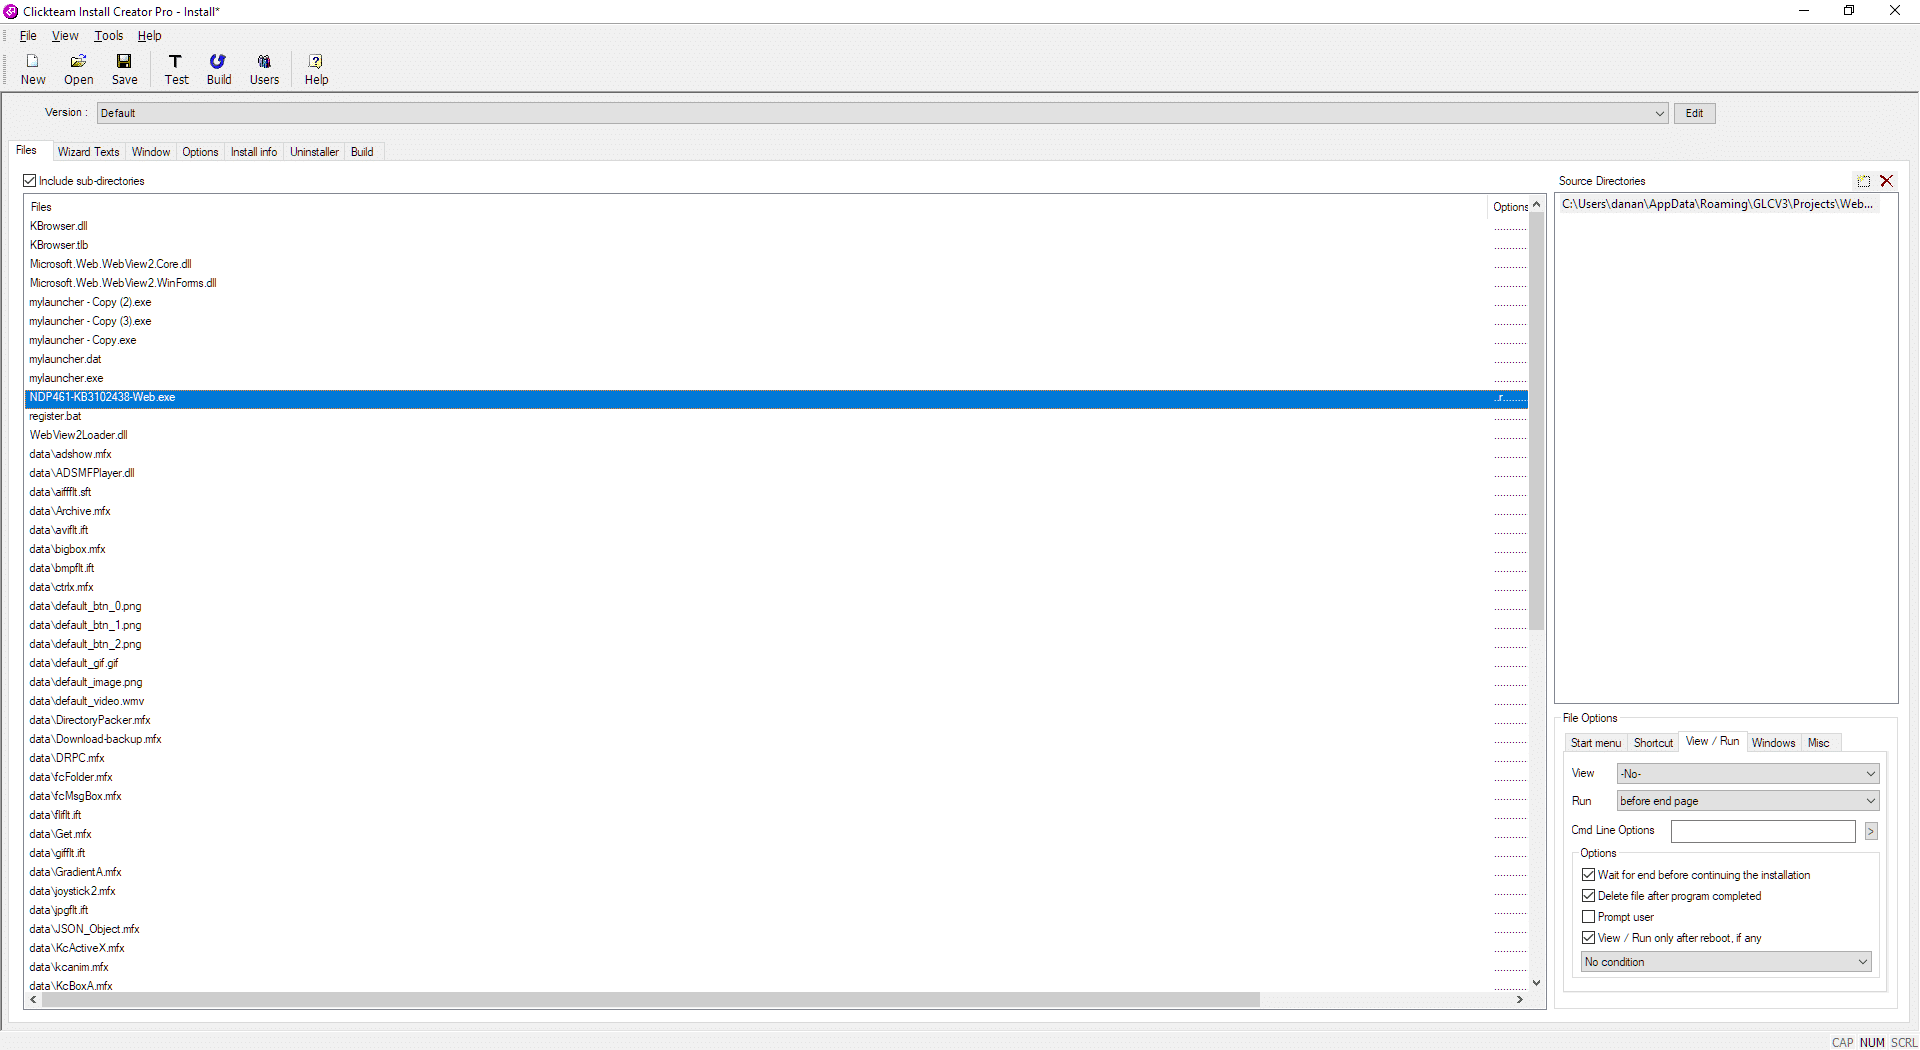
Once you see it in your file list select it and go to the File Options tab again. This time select ‘Before End Page‘ on the RUN dropdown list and you will also need to check ‘Wait for end before continuing the installation‘ and ‘Delete file after program completed‘. Like this…
Then select register.bat file and go to the File Options and select ‘while end page is displayed’ on the RUN dropdown and again select ‘Wait for end before continuing the installation‘ and you can optionally select ‘Delete file after program completed’ if you would like to.
Backup Plan
If you have exhausted all of the above options and are still not having much luck (Windows 11 can be tricky), then the last suggestion is to select kbrowser.dll and kbrowser.tlb
![]()
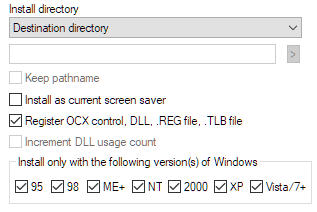
and in the File Options tab, select ‘Register OCX control, DLL, REG, TLB file.‘