In order to create a custom launcher that is compatible with Minecraft, you will need one of the Minecraft plugins from the store. This is a link to the standard Minecraft plugin which provides the basics to get you up and running with your own custom Minecraft launcher with Game Launcher Creator V3.
Design your Minecraft launcher
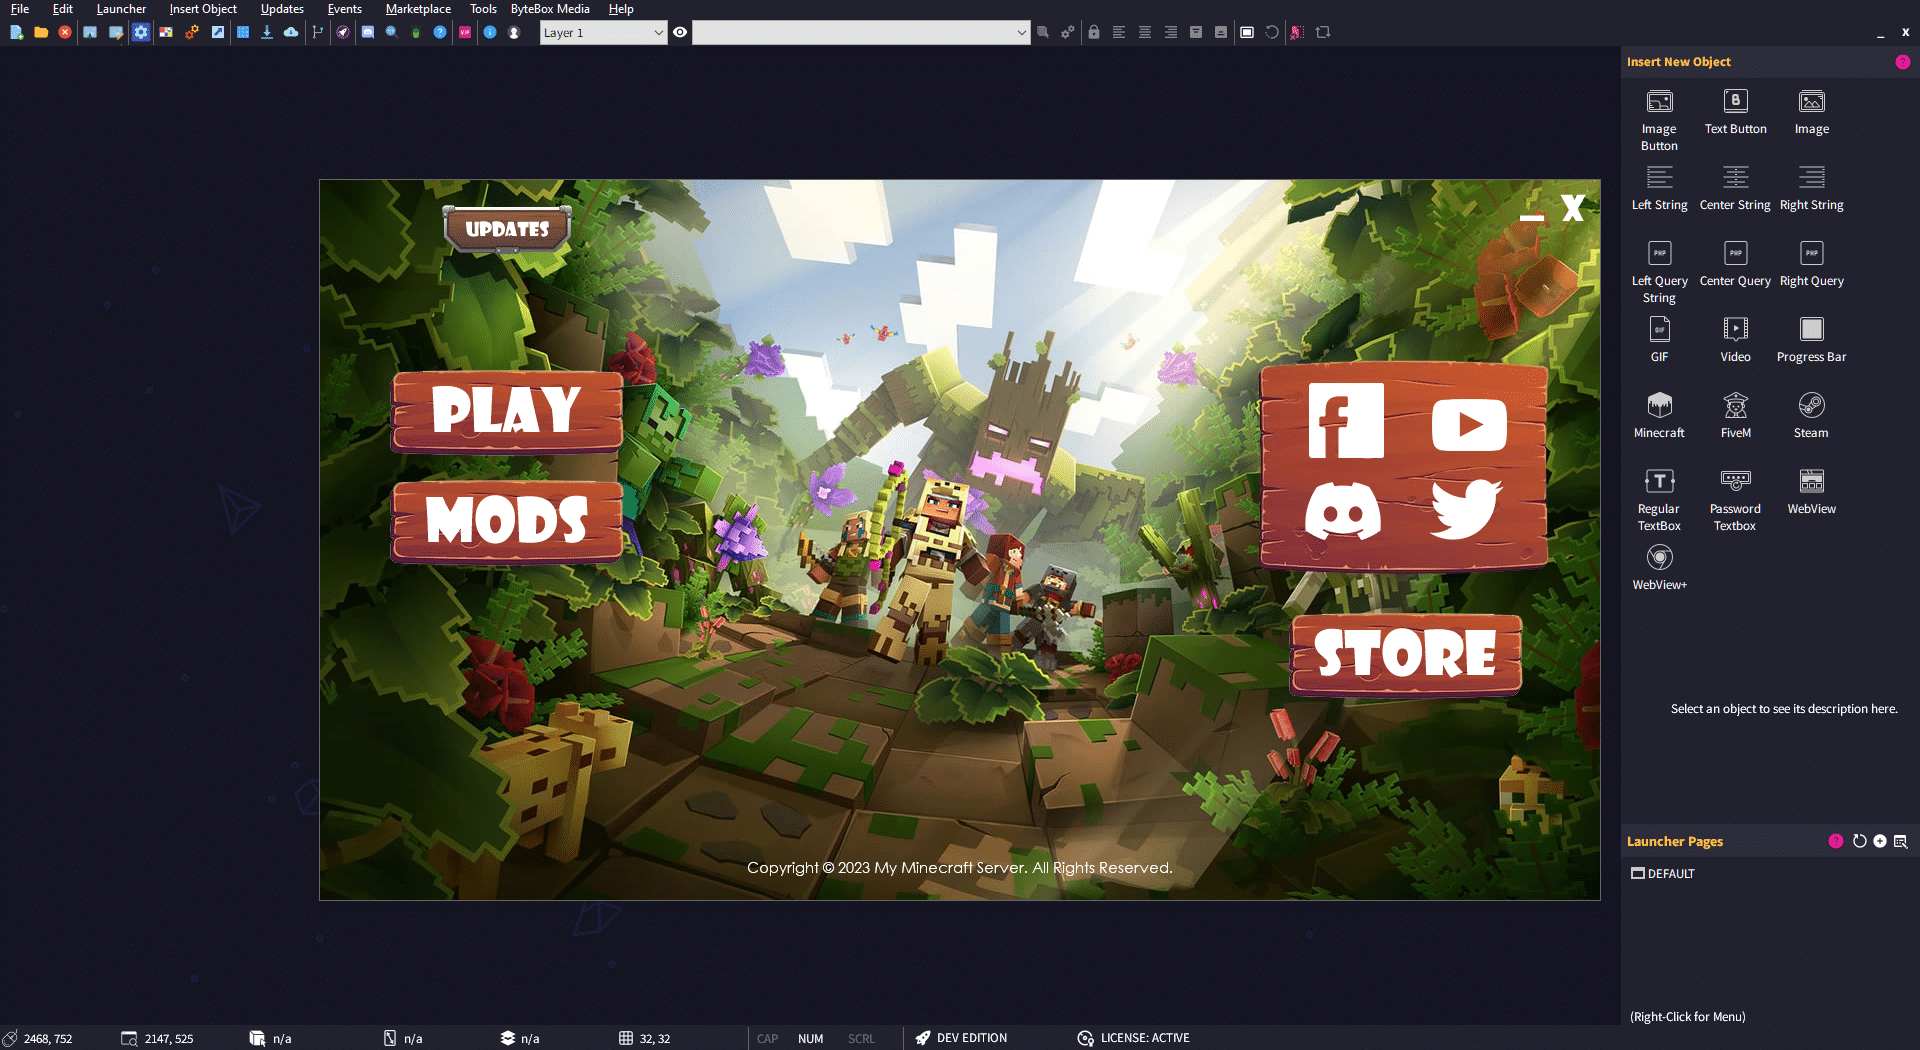
First off, get to work designing your custom designed launcher in GLCV3. Using the template system or creating your own design, or a mixture of both.
Once you are happy with the design of your custom Minecraft launcher, you will need some of ‘Play’ button or a ‘Connect’ button, but we’ll get around to that later. For this tutorial, we are going to use one of the available templates.
Insert the Minecraft Object
Go to the Object Panel on the right hand side and double-click the ‘Minecraft‘ Object…

If it says (Not Available) or (Not Installed), then you do not have the Minecraft Plugin installed. You must purchase and download it from the link above. If you have already purchased it, then login to your Store account, go to Downloads and then you should see the Minecraft Plugin installer. Download and install it. You will need to get the license key from your orders, find the order number in the Orders section and click on it to reveal your license key.
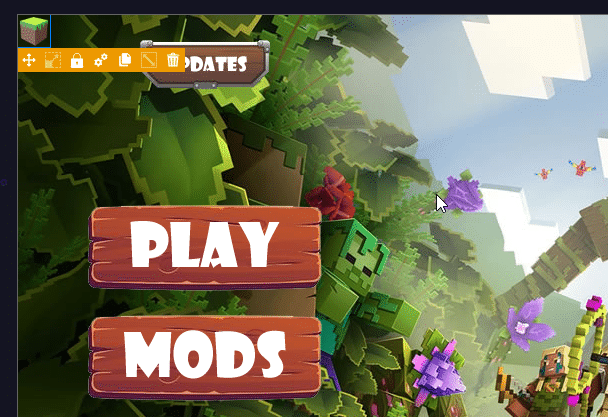
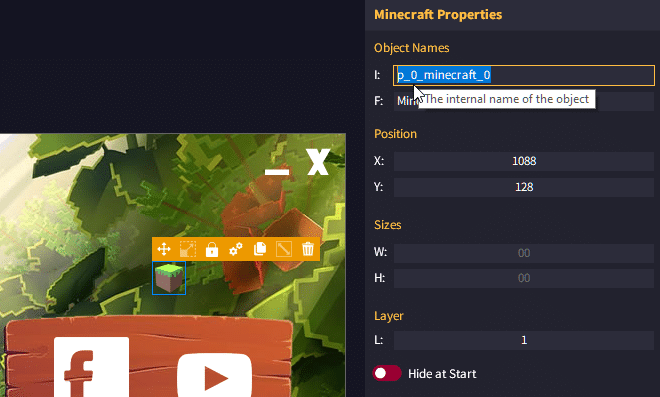
Once you have inserted the Minecraft object into your page, you can move it anywhere you like. You only see this object in the Editor. When you’ve built your launcher, your users will not see this icon.
When you are ready, click on the cog ![]() to open up the settings for the Minecraft object…
to open up the settings for the Minecraft object…
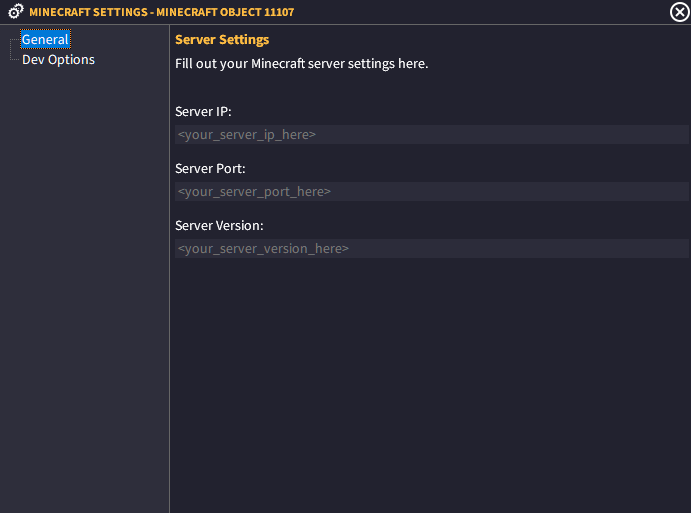
The settings dialog for the MC object will appear. Simply type in your server IP (or dns entry) into the the Server IP, pop in your server PORT number in the Server Port section (default is 25565 if you don’t know it) and then the Server Version into the Server Version box.
When it comes to the Server Version, you must type in the exact version string your server is running.
For example, if you you running a 1.18.1 Minecraft server with Forge version 39.0.19 then you would specify it like this in the version text box:
1.18.1-forge-39.0.19
With Fabric/LiteLoader you need to write them as
fabric-loader-0.11.3-1.16.5
1.12.2-LiteLoader1.18.1
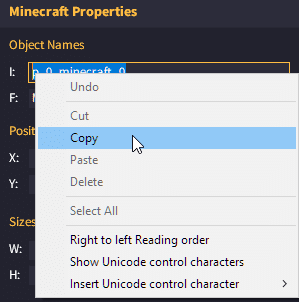
Once you have done that, you can close this settings dialog. Now select the Minecraft object again and on the right hand side you will see the Minecraft Object properties box. You need to select the internal name of the object with your mouse, then right-click and select ‘Copy’…
Connect Button to Minecraft Object
Once you have done the above, now you need to find the button that you will use to connect to your Minecraft server. We are going to use our ‘Play’ button in this tutorial.
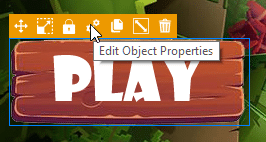
With the Play button selected, we click on the settings cog to go to the settings for this button. When that dialog appears, go down to Action(s) in the list and click on the + symbol to create a new action.
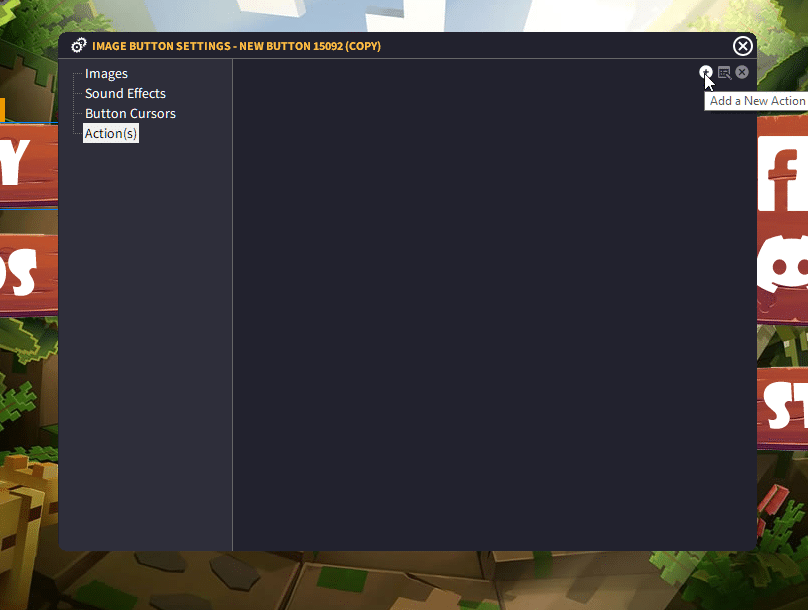
When the actions dialog appears, click on the action list and select ‘Minecraft’

Once you have selected Minecraft from the list, it will ask you for the name of the Minecraft object, now you can paste, or type, the internal name of the Minecraft object we just inserted…
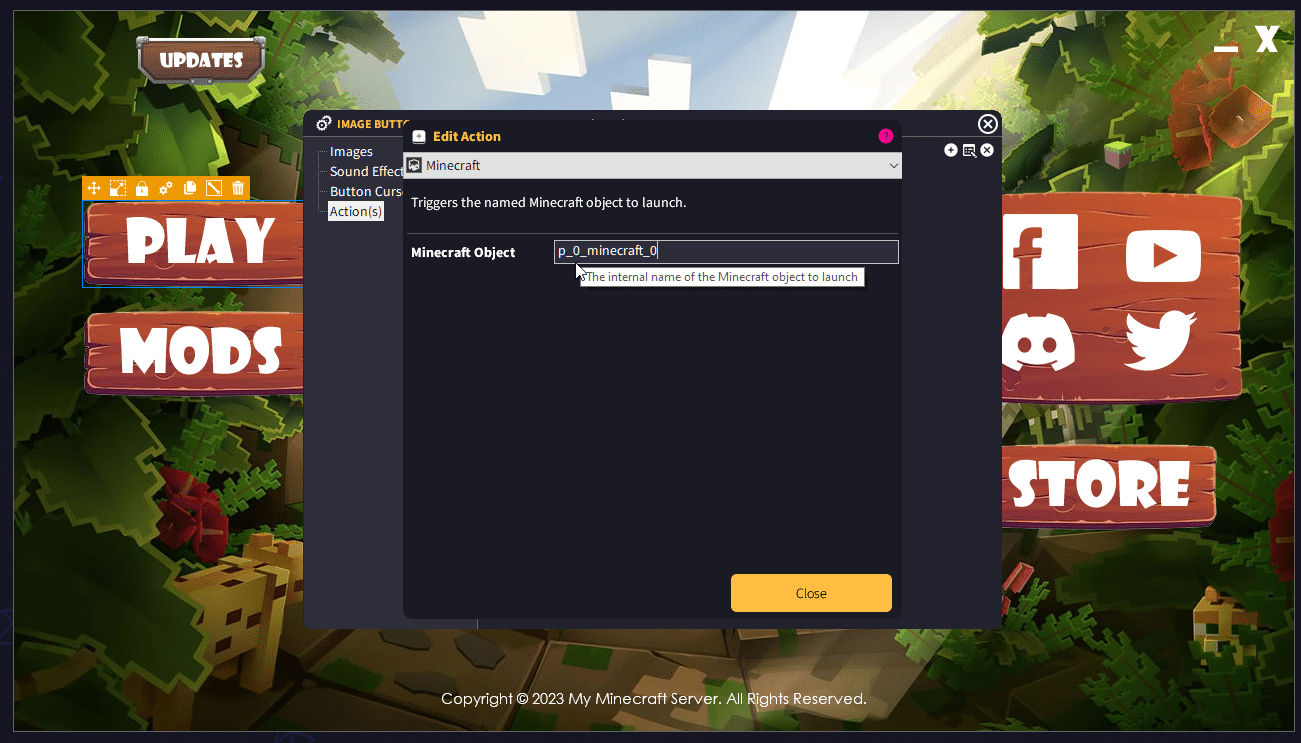
Now your Minecraft Object is linked with this button. When your user presses this Play button, it will connect the user to your server.
Building the Minecraft Launcher
When it comes to building the launcher, you must ensure when you go to the Build Dialog to build the launcher, that you select Minecraft Support.
![]()
That’s pretty much it.
If you experience any issues or problems, please use the search box at the top of this page to search for a specific problem or issue.
Alternatively, you can ask inside our Discord server.