GLCV3 is an easy-to-use, real-time, drag n drop editor software for Windows.
The editing workspace is familiar to many other Windows software applications. There are MANY features to our software and that’s why we have this documentation section so you can find things easy by using the search box at the top.
In this document, we will get you acquainted with a short introduction to GLCV3, to get you up and running.
Introduction
When you first start GLCV3, you will be presented with the workspace editor, that looks like this…
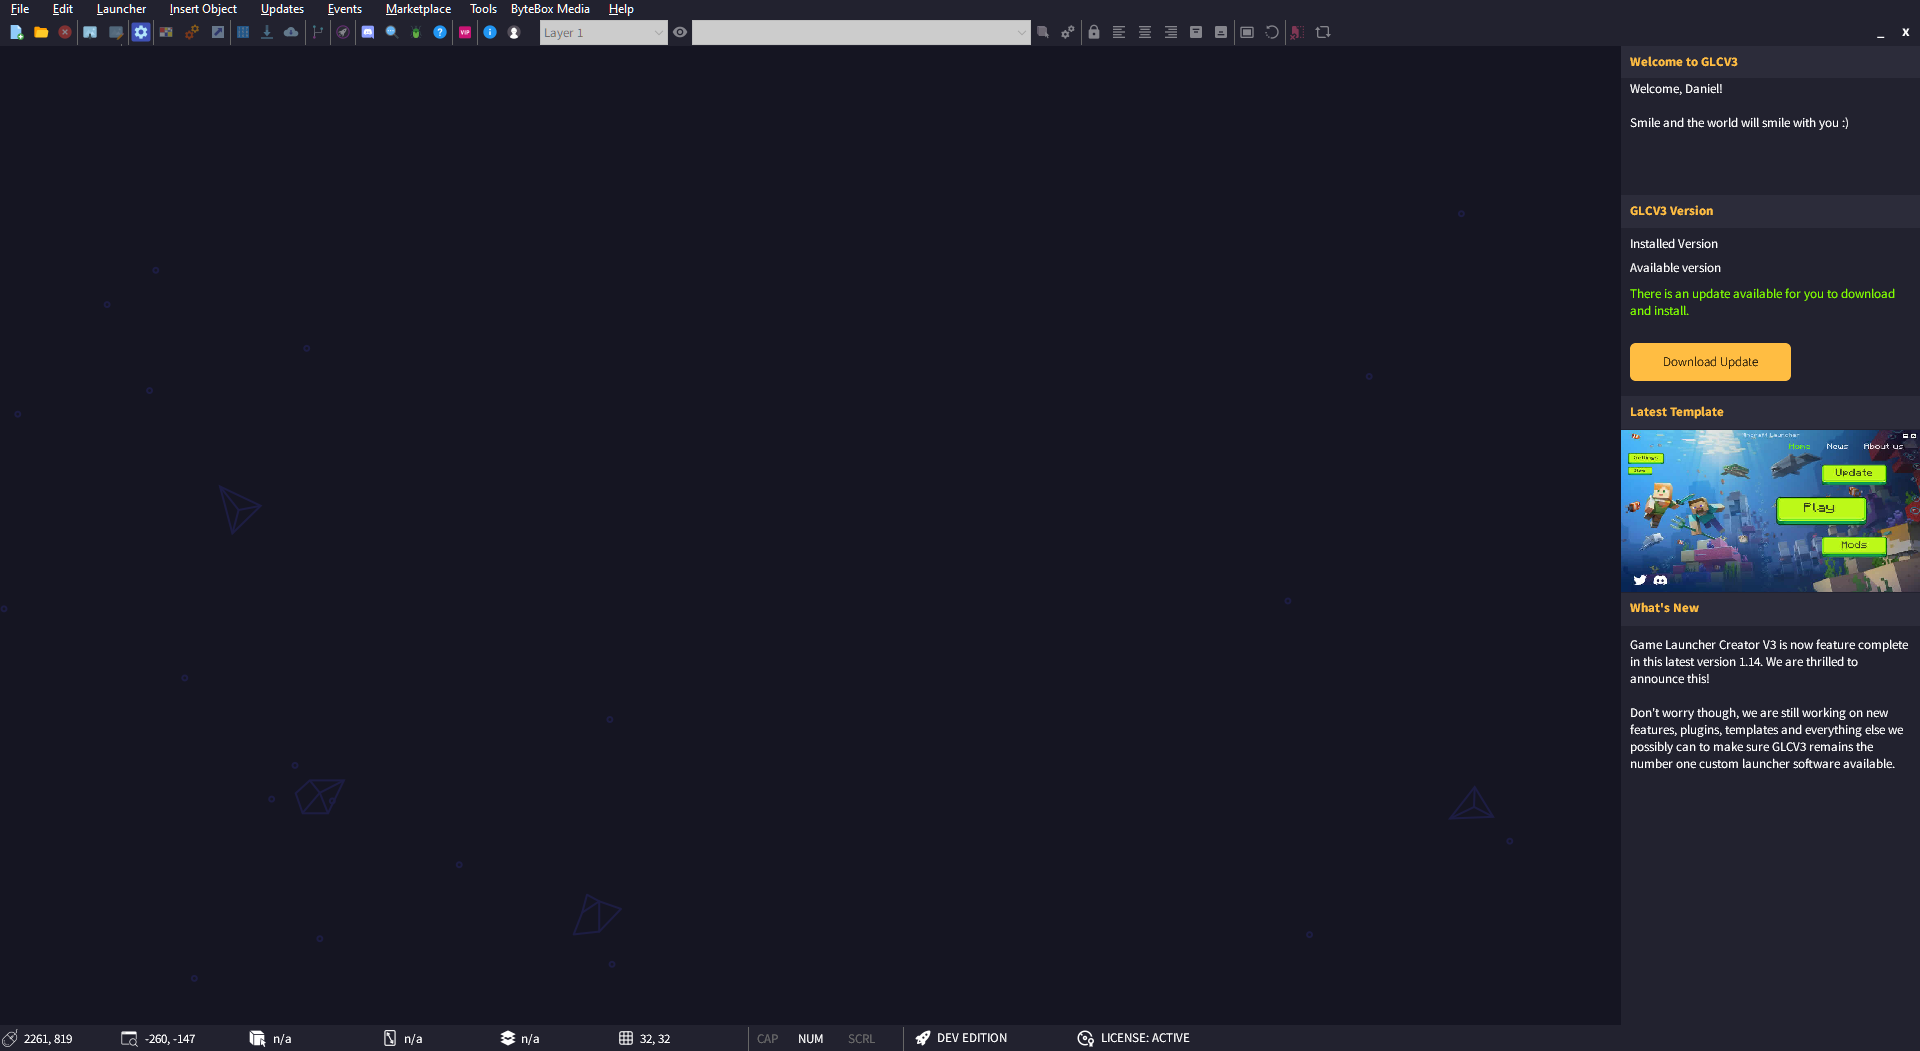
At the top you have the menu and top toolbar. You can access pretty much everything inside the editor from this area.
To the right you have a properties panel. When no project is loaded, it shows your current GLCV3 editor version, any updates available and the latest news.
At the bottom is the status bar. This gives you information like mouse position in relation to the editor window and the launcher window when you are editing a project.
Creating a Project
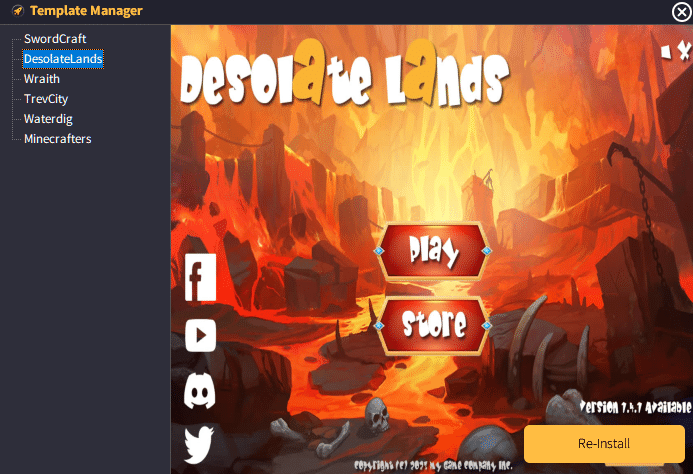
Before creating your first project, we highly recommend you go to the Template Manager and check out the free templates that are available for you to use. You can download them from here too.

When the dialog opens, you can browse the free templates available on our server and download them to your computer. Just select a template from the list and click the ‘Install’ button.
To create a project, simply go to File > New Project in the menu.
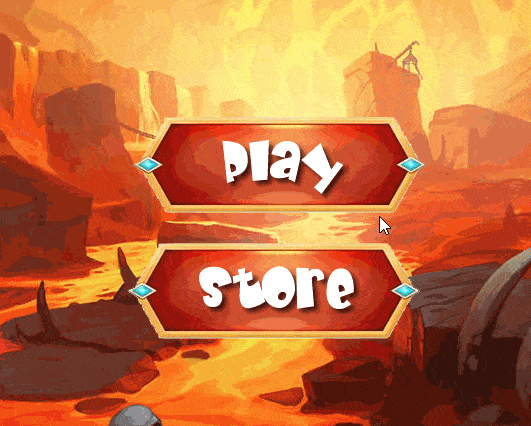
Select a template (or select BLANK if you wish to import your own design). For the sake of this opening tutorial, we will select DesolateLands template. You then need to set the Window Title (Project Name), fill out the Author box and then set you window size.
Window size is automatically set based on the template. You can still change this if you desire.
Managing Objects
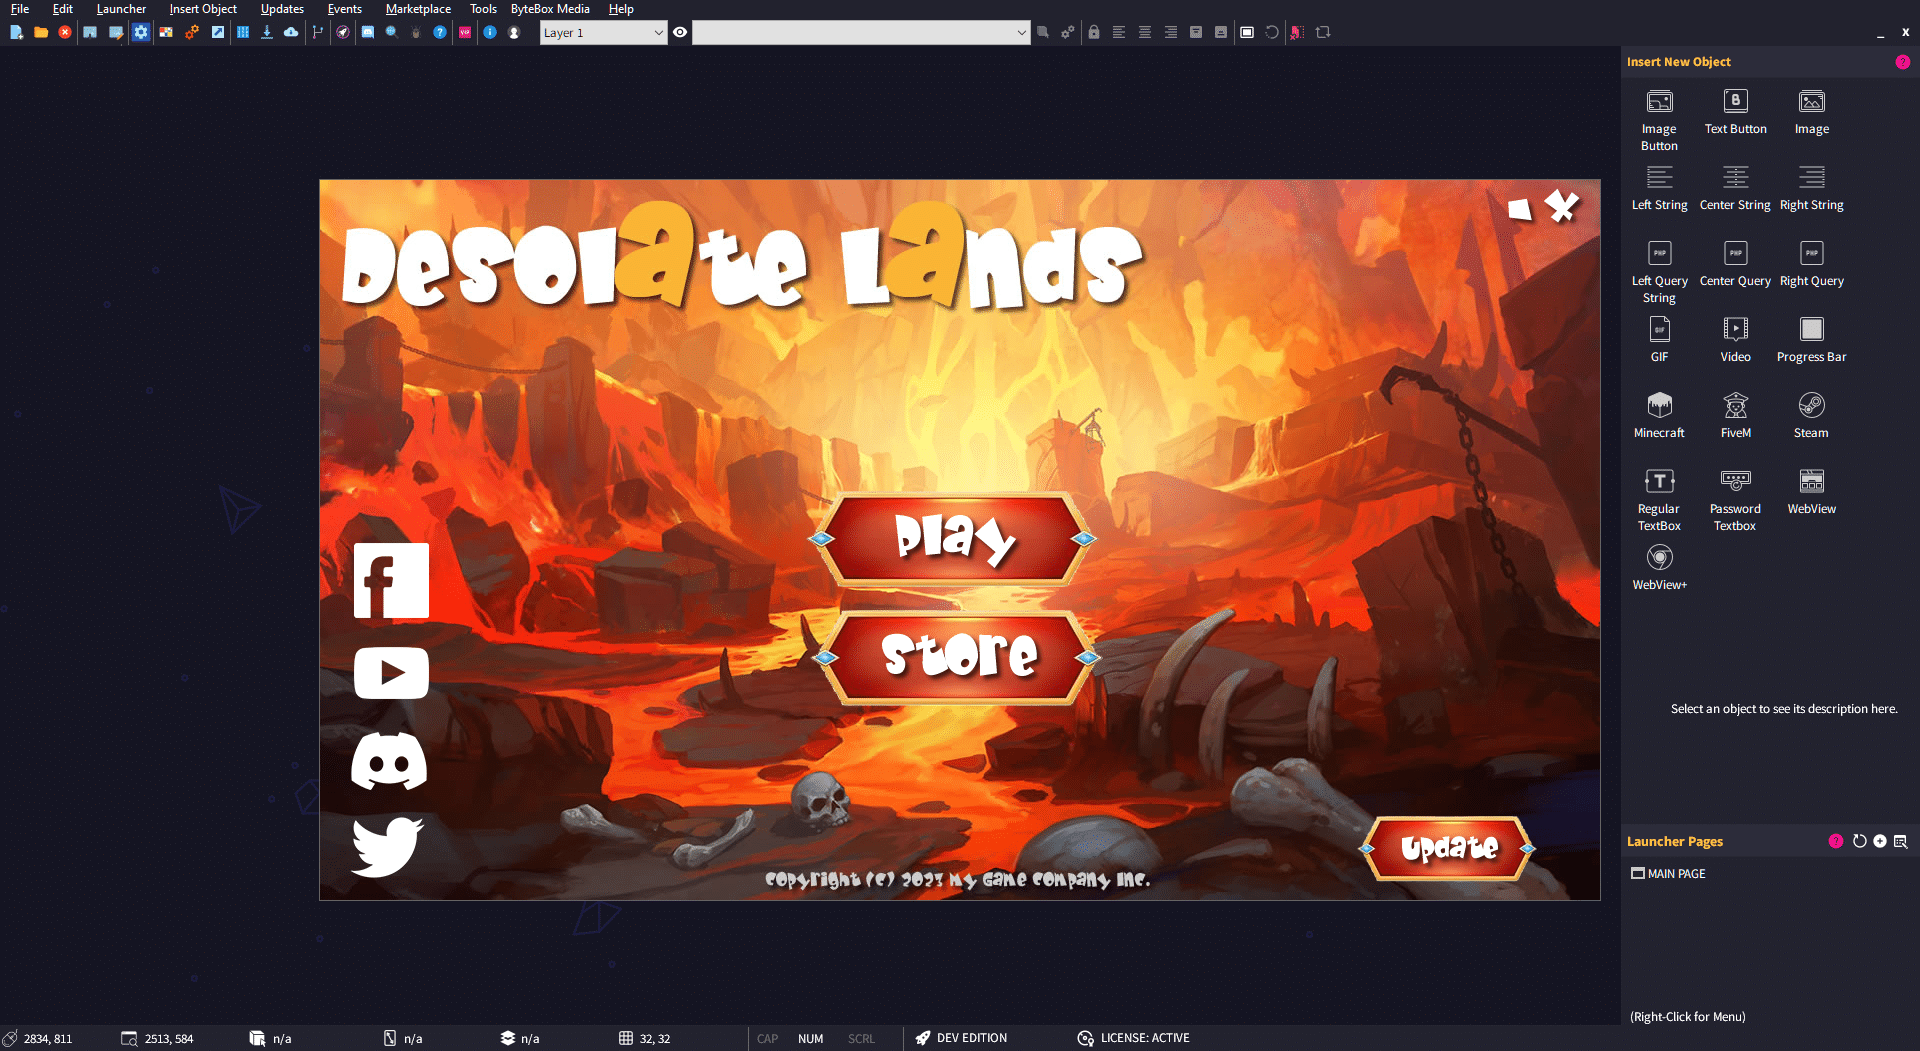
Once the project is loaded, you will see the real-time editor window and the right-hand panel changes to Page and Object panels. So you can add, edit and remove your launcher pages and mess choose which news objects to insert into your launcher.
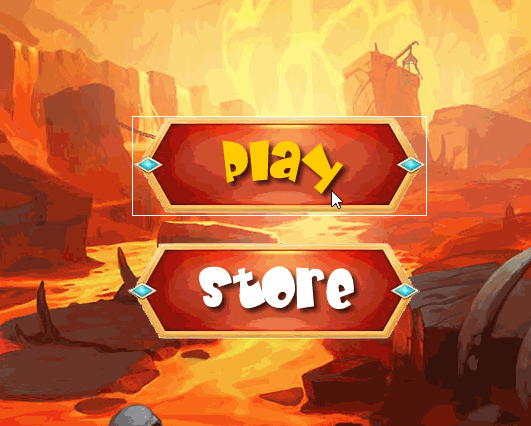
To select an object, move your mouse over the top of it, like so…
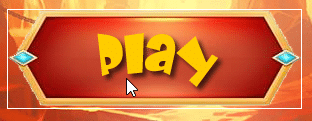
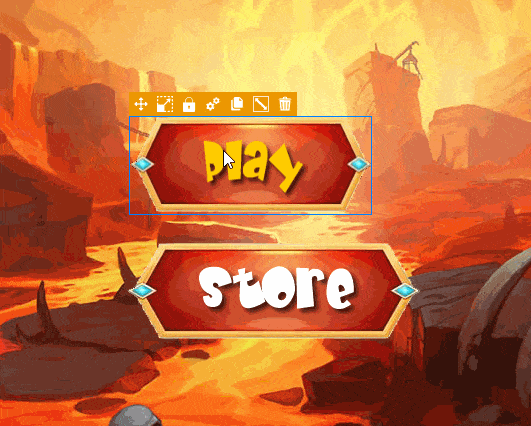
You will see a white bounding box appear around the object. Click the object to select it and a new box will appear with a toolbar…
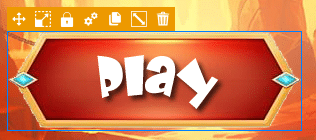
If you hover your mouse over each toolbar button, a tooltip will appear telling you what happens if you click that button, like this…
Moving Objects
To move the object, click the arrow icon ![]() . It will then follow your mouse, snapping to the grid. If the grid is too much for you, you can change the size of the grid in the preferences (Edit > Preferences). We recommend 16×16 or 8×8, but you can set it to whatever you want.
. It will then follow your mouse, snapping to the grid. If the grid is too much for you, you can change the size of the grid in the preferences (Edit > Preferences). We recommend 16×16 or 8×8, but you can set it to whatever you want.
Whilst moving the object, if you hold down the SHIFT button on your keyboard, it will allow you to move it with pixel-perfect precision. Click to drop the object before releasing SHIFT in order to place it.
You can also move the object whilst it is selected using your UP, DOWN, LEFT, RIGHT arrow keys on your keyboard. For pixel-perfect movement, hold down SHIFT whilst doing this.
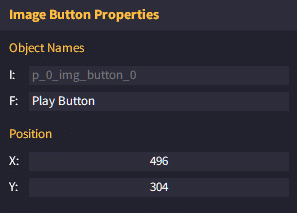
You can also enter exact co-ordinates in real-time when the object is selected by looking towards the properties panel on the right and changing the X and Y position. It will change in real-time inside the launcher window…
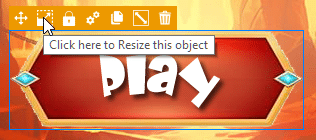
Resizing Objects
To resize an object, simply select the Resize Object button in the object toolbar ![]()
When you do this, some handles will appear around the object. You can grab these handles with your mouse and resize the object, like so…
Locking Objects
You can lock any object by selecting it and clicking on the padlock icon ![]() You can unlock it by selecting it again.
You can unlock it by selecting it again.
Once an object is locked and you click off it, you cannot select it again inside the editor. But no fear, simply go to the object list on the top toolbar, find your object in the list and then click the select object button next to the list

You can then use the unlock icon on the top toolbar or the padlock on the object itself to unlock.

Object Settings
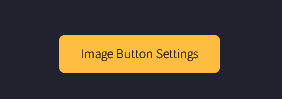
You can access the settings dialog for the selected object by clicking the settings cog ![]() on the object toolbar. You can also access the object settings from the right hand side panel here…
on the object toolbar. You can also access the object settings from the right hand side panel here…
You can also access a selected object’s settings in the top toolbar, the settings cog icon…

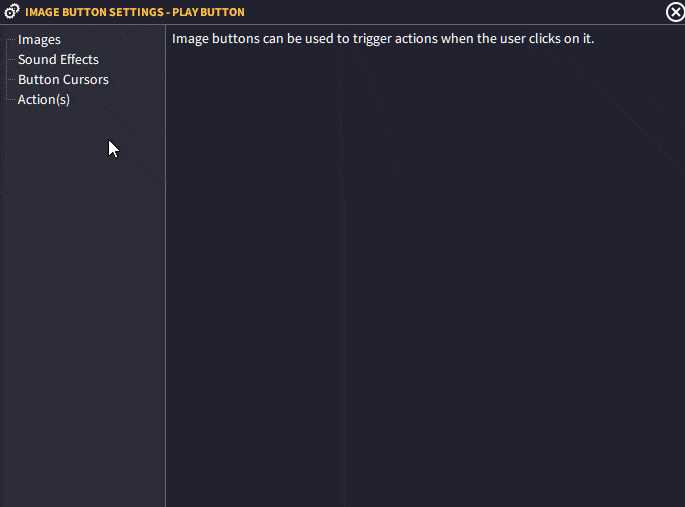
When the object settings dialogs appears for an object, there are two sections. The first, on the left, stipulates the property groups for this object. You can select each one and then in the right hand column will appear the settings for that group…
All of the settings are saved automatically and your project is also saved automatically. There is no ‘save’ function inside GLCV3 because every time you change something, it automatically saves it to the file. See below regarding File Backups.
Duplicate / Clone Object
You can duplicate or clone a selected object by clicking the duplicate button ![]() in the object toolbar.
in the object toolbar.
This will recreate a copy of the same object and position it at 0,0 in your launcher (top left corner).
Resize to Original
You can resize objects to their original, proportionate size by clicking the ‘Resize to Original’ button ![]() in the object toolbar.
in the object toolbar.
This is not available for all objects.
Deleting an Object
You can easily delete an object by clicking the trash can icon ![]() in the selected object toolbar. Deleting an object cannot currently be undone. However, you can restore with a File Backup (see below).
in the selected object toolbar. Deleting an object cannot currently be undone. However, you can restore with a File Backup (see below).
Quick Alignments
You can quickly align an object in the launcher window by selecting it and then clicking one of the relevant buttons in the top toolbar. From left to right they are:
![]()
Left align
Set the X position of the object to the left-hand side of the window
Center Align
Set the X position of the object to the center of the window.
Right Align
Set the X Position of the object to the right-hand side of the window.
Top Align
Set the Y Position of the object to the very top of the window.
Bottom Align
Set the Y Position of the object to the very bottom of the window.
File Backups
Every time you open your launcher project with GLCV3, a backup copy of your launcher project is made. You can access this library of backups by going to your %appdata% folder, then going to GLCV3, then Projects and your project name folder. Inside there you will see a folder called Backups.
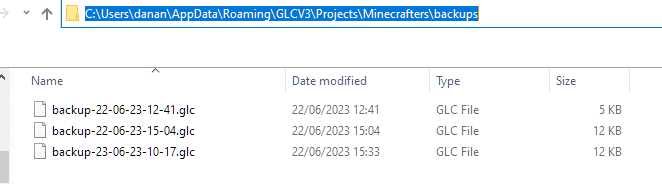
Inside there are all the backups of your project. You can restore a backup by simply Copying the file and placing it into your %appdata%\GLCV3\Projects\<Project Name> folder.
You cannot open up these files directly with GLCV3 from the backup folder. It will break the structure. You have to select a file and copy it to the folder above. Then you can open it.